“Fashion is instant language,” says Miuccia Prada.
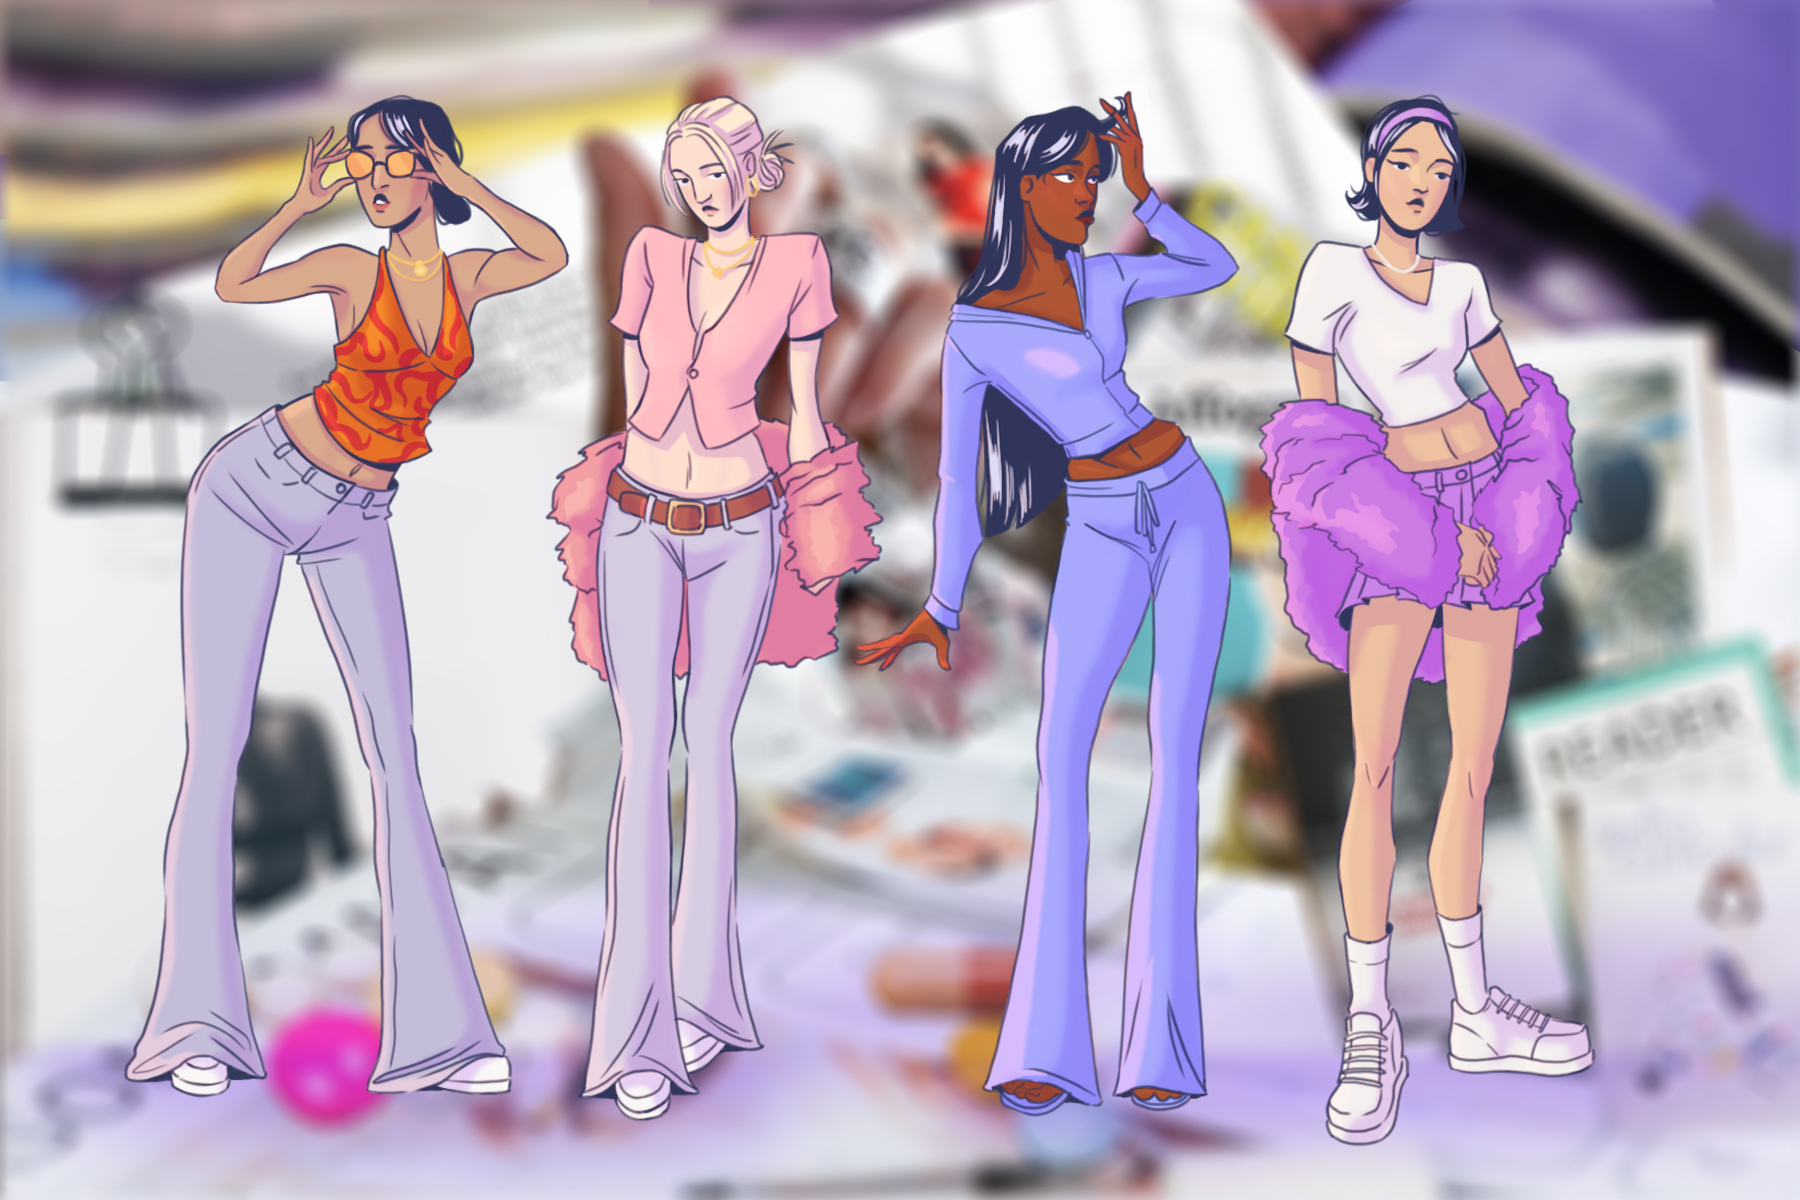
Fashion trend is a never-ending cycle, but the most appealing one is the iconic Y2K fashion trend. We cannot get enough of it with all the miniature bags, pleated skirts, bubble gum pink and those still in trend wide-leg trousers. Trending through 2021 and continuing with added style this year, the Y2K fashion trend is a sensation already!
We, at StyleFundas, have come up with the chicest, in-trend, fashionable aesthetic outfits inspired by the Y2K trends! They are different this time. There’s an added twist and creativity to the 2000s fashion trend this season. Have a look at the top 12 trending Y2K fashion trends this season and get inspired:
1) Funky Accessories
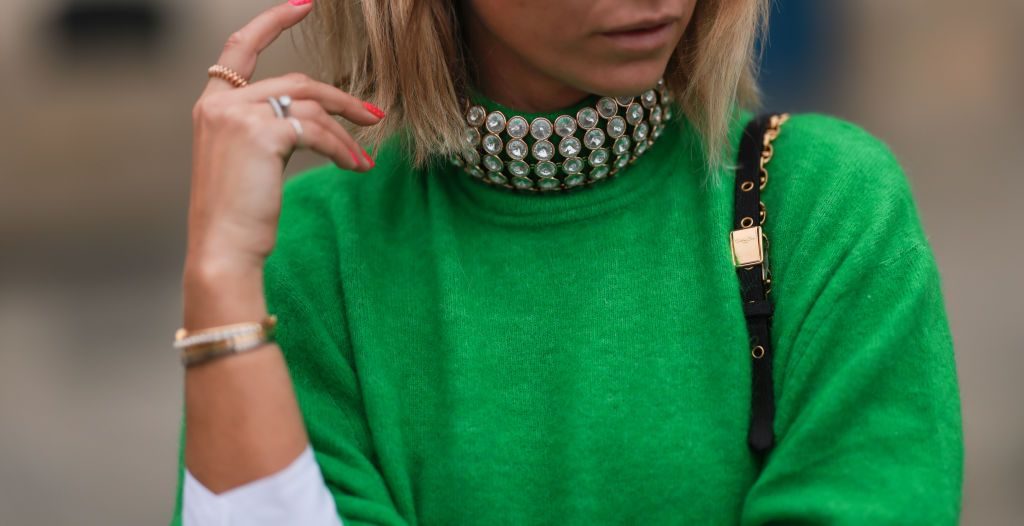
 Funky accessories create an alleviated appeal due to the bold and playful creation they come in. Heavy metals majorly created in silver rather than gold this season, have also become a part of the accessory trends. To know more about the accessories trending this season, check out our post on Biggest Accessory Trend to Follow!
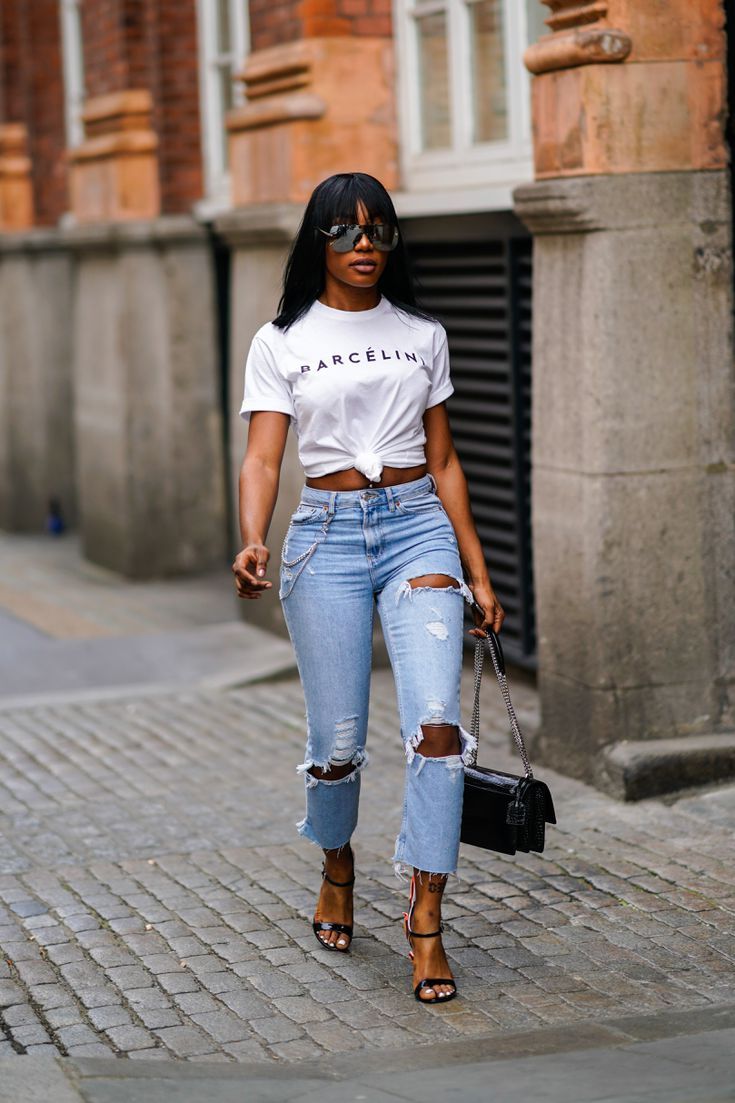
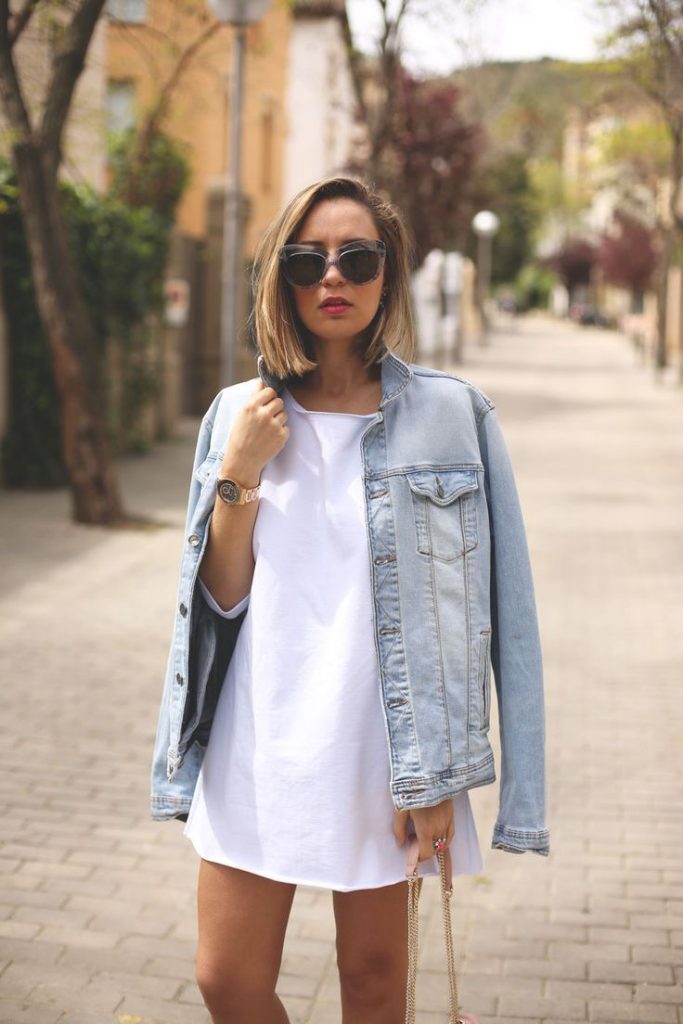
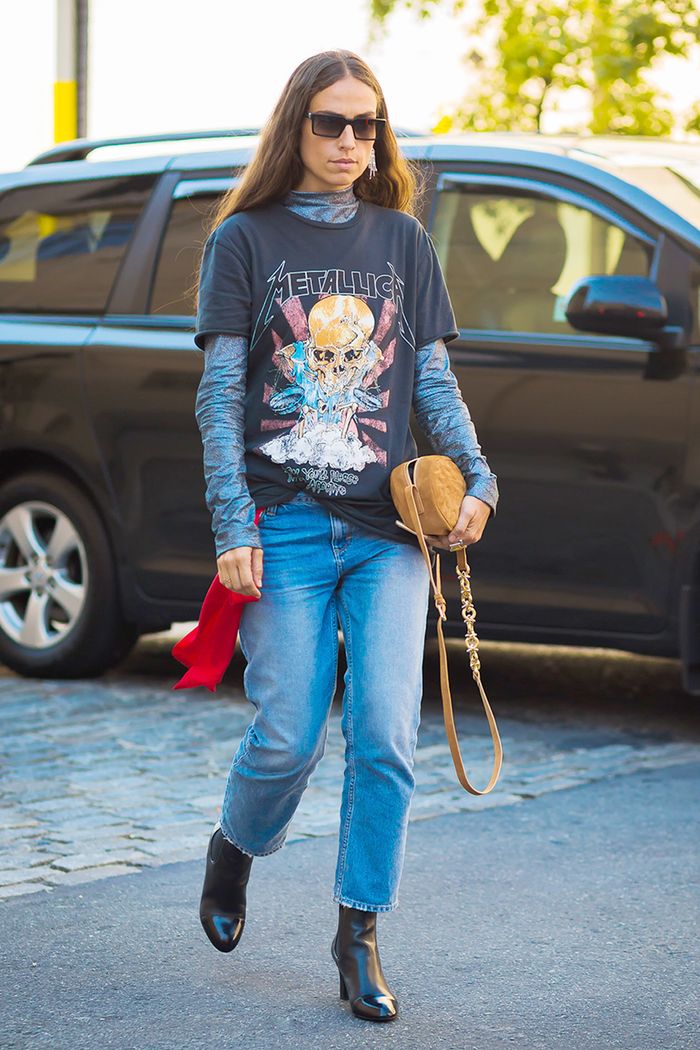
2) Denim on Denim
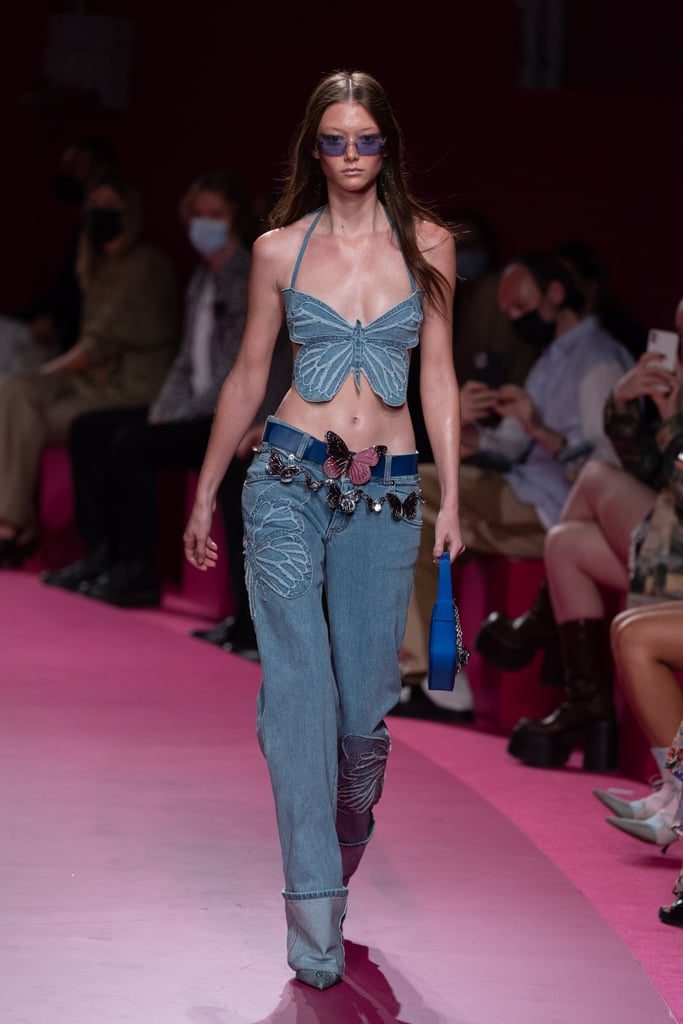
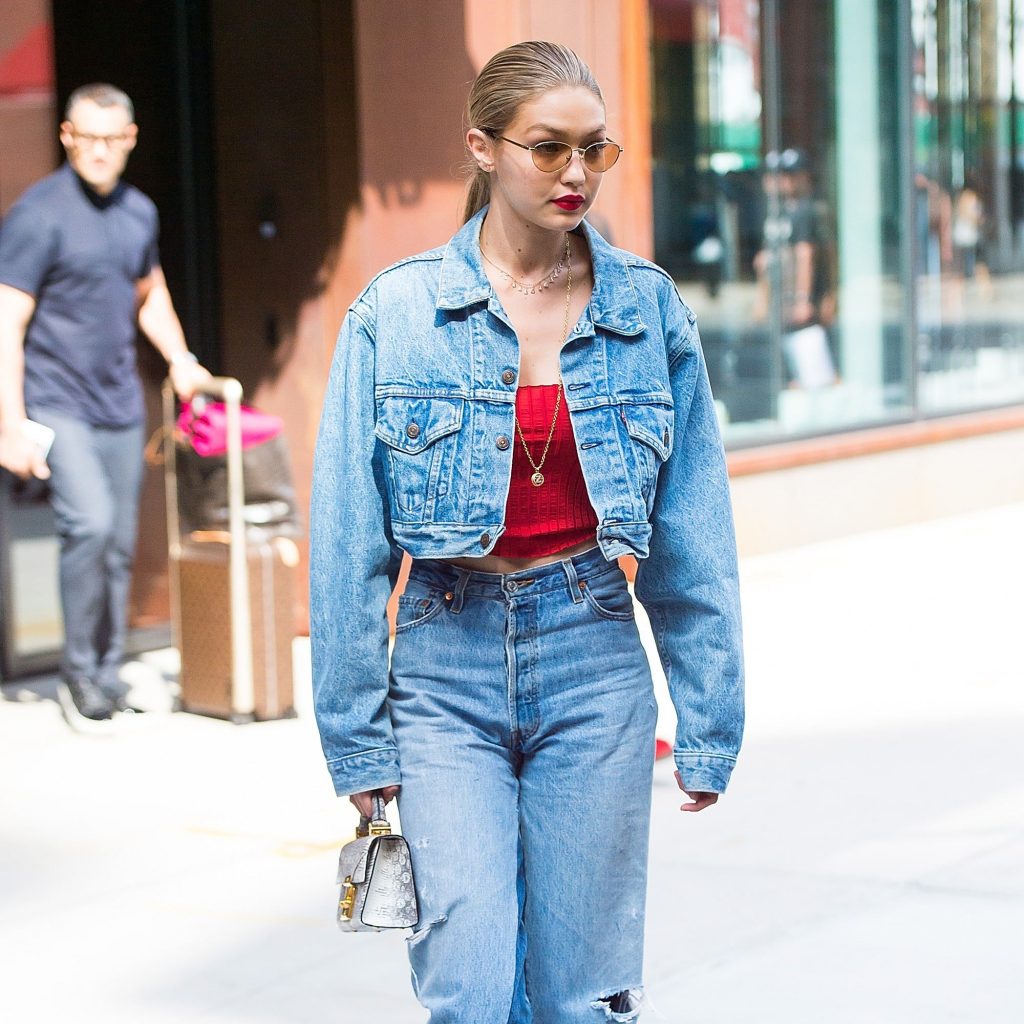
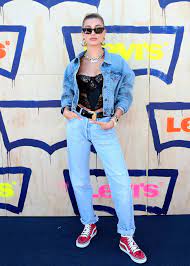
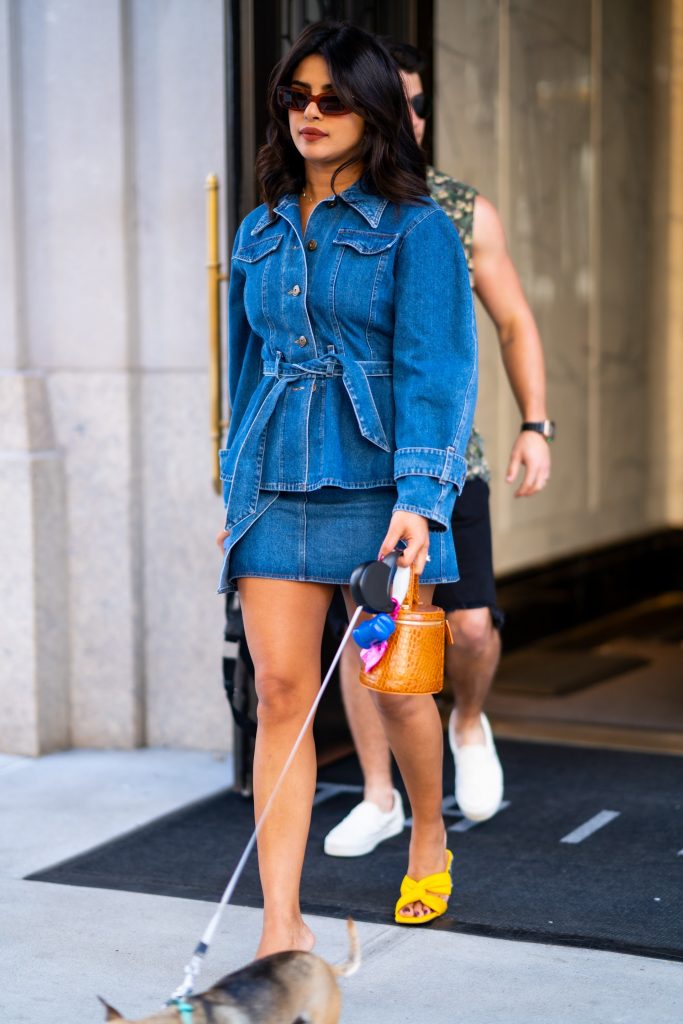
Pairing Denim on Denim was once considered a major fashion faux. This look has been around since the ‘60s and has been the mainstay in the fashion industry for a reason. Pieces of Denim are loved by almost everyone and they are the most integral part of the Fashion industry as they give a casual yet bold look with a fashion-forward look.
3) Scarfs
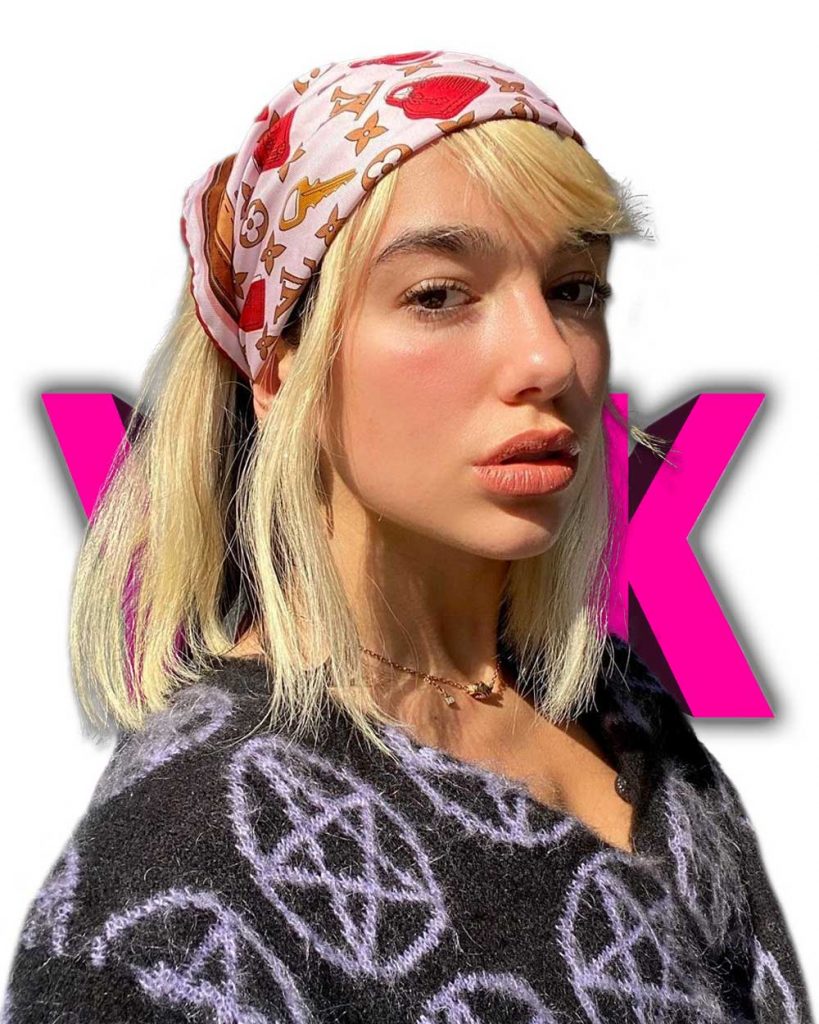
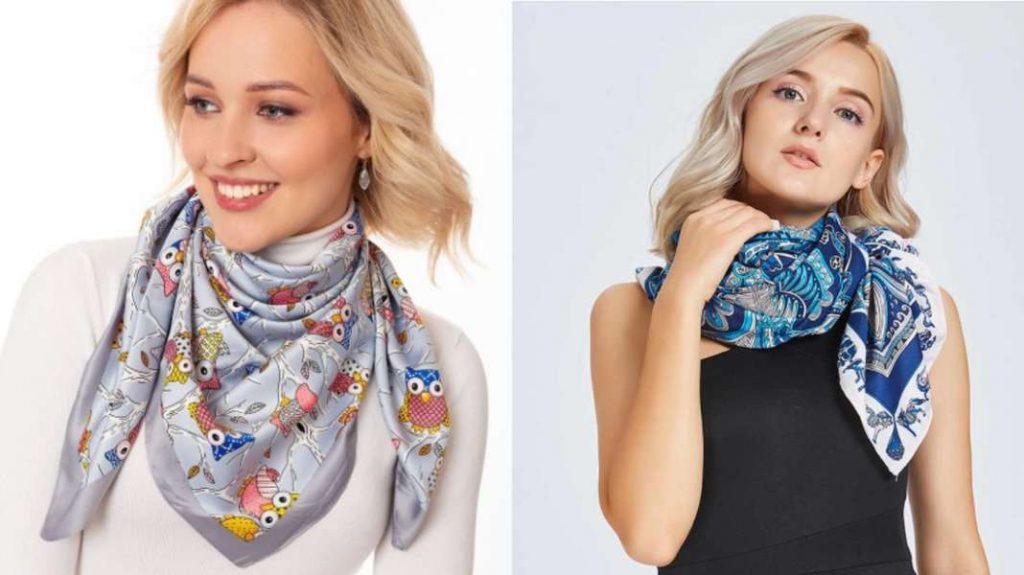 Silk scarfs being one of the most researched accessories right now have taken a top 10 place in the Y2K fashion trend this season. And large scarves are most fashionable- especially when worn over the head.
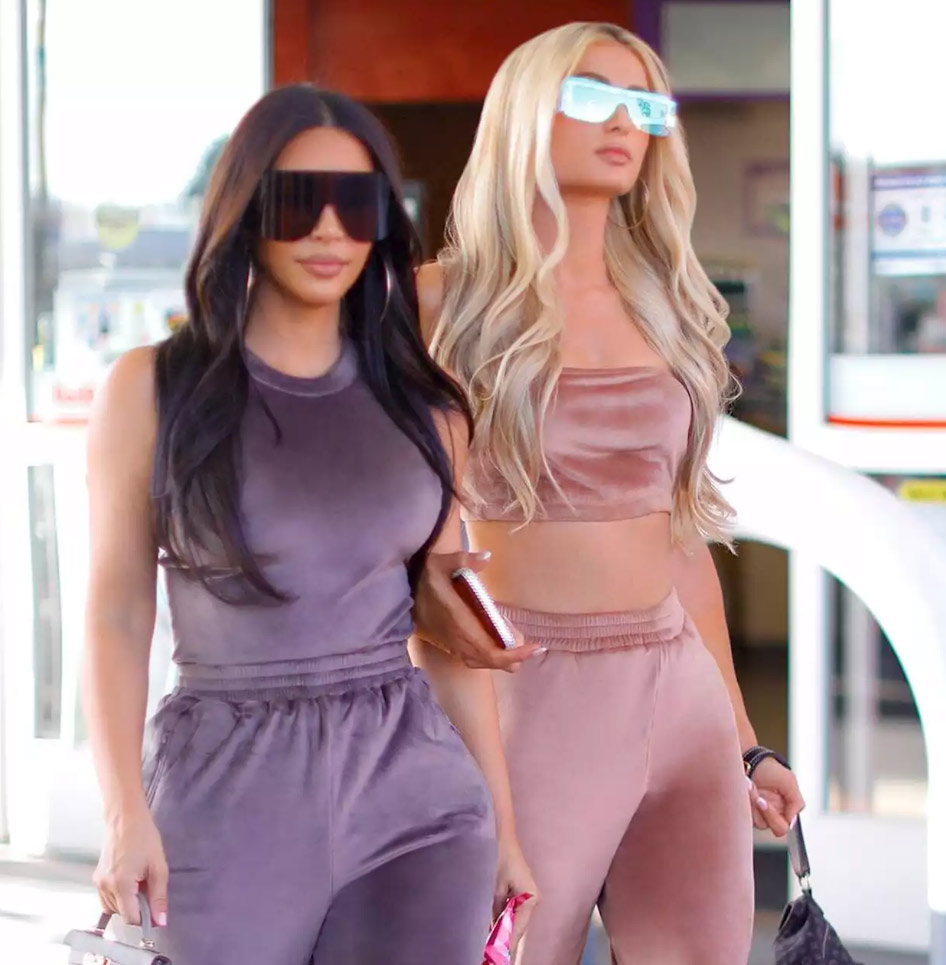
4) Small Bags
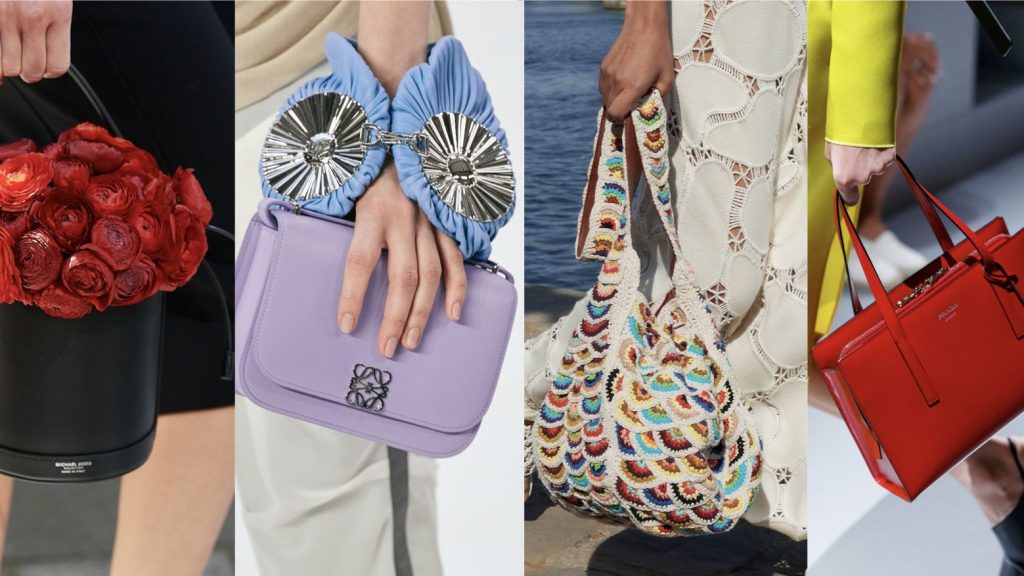 Leave your heavy handbags at your home because the trend of the tiny bag is still on! They make your outfit a hit and compliment the short skirts. These are very much in trend and make you look great! The miniature handbags are all you can ask for to carry and look stylish this season!
5) Cardigans and Pleated Skirts
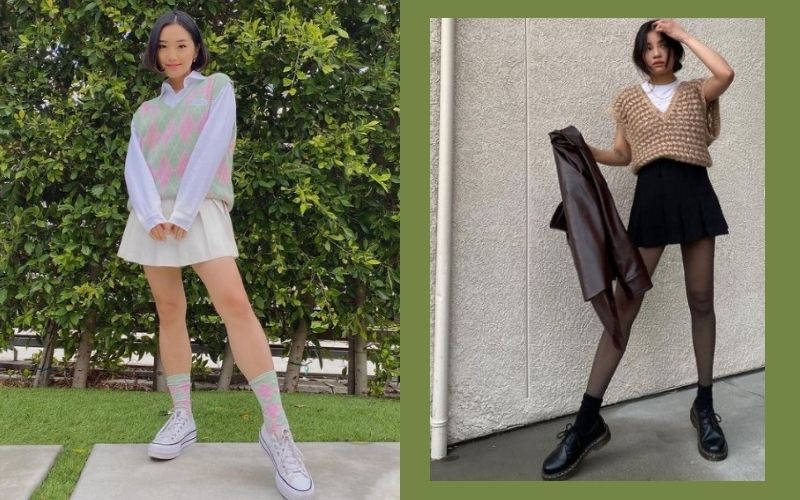 This Fashion trend is again revived by the Gen-Z generation on social media. Its comeback proves to us the cyclical nature of fashion. So, tighten your seatbelts or should I say skirts? And enjoy this fashion ride until it lasts.
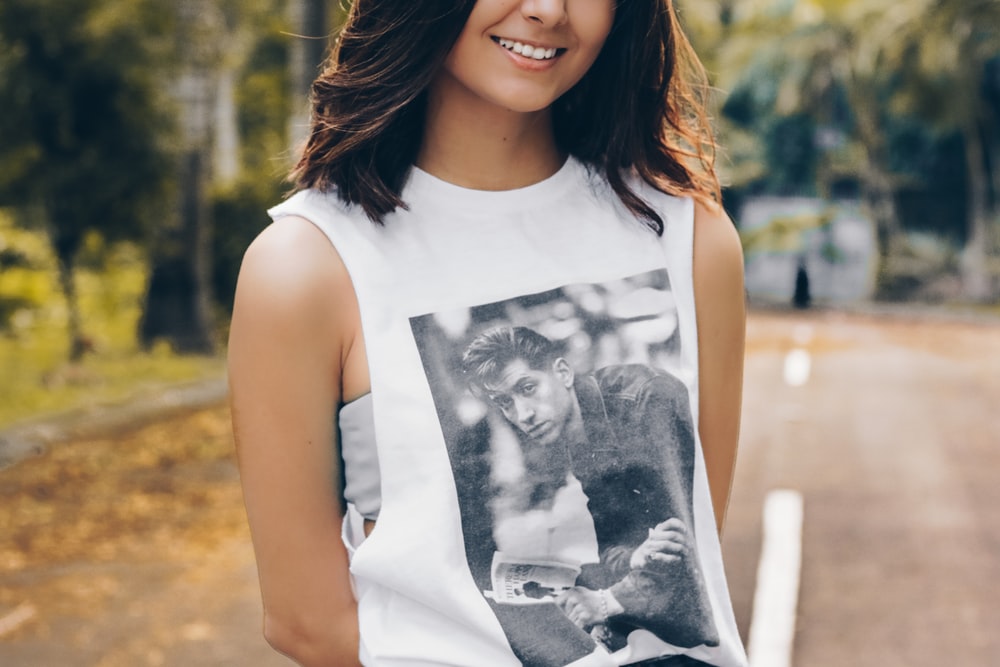
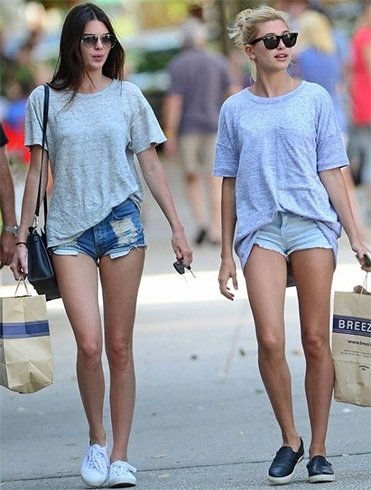
6) Baby Tee
 Now we all can say that ‘Baby got Back!’ This trend has picked up quite a rapid stream on and off the runways and looks super cute and chic in style. It complements your silhouette and funky accessories surely complete this look.
7) Front Tie Tops
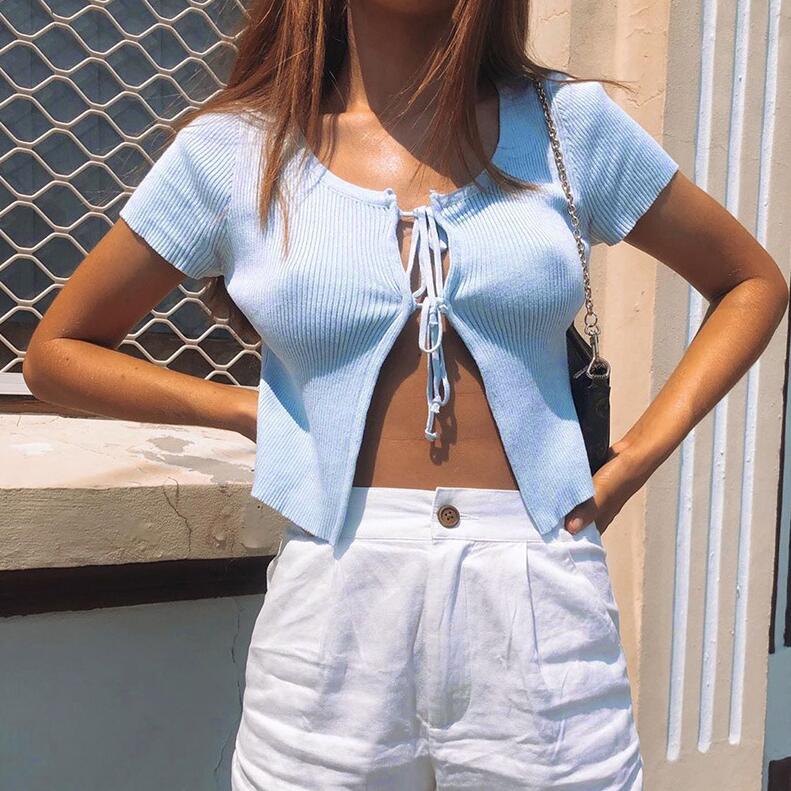
The front tie top is still in style this season making your spring extra special. Wear this look and rock the Y2K Fashion Trend for this year.
8) Velour Tracksuits
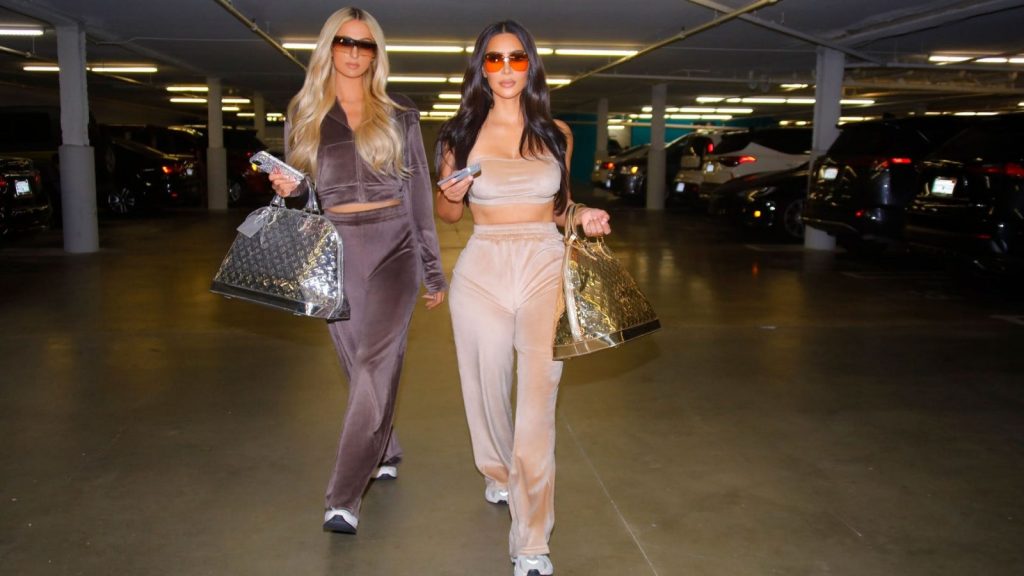
 This plush fabric was commonly worn in tracksuit-style throughout the ’90s and early 2000s. Now, it’s back and better than ever in the classic matching set form, as well as fashion-forward dresses, tops, and pants.
9) Butterfly Hairclips
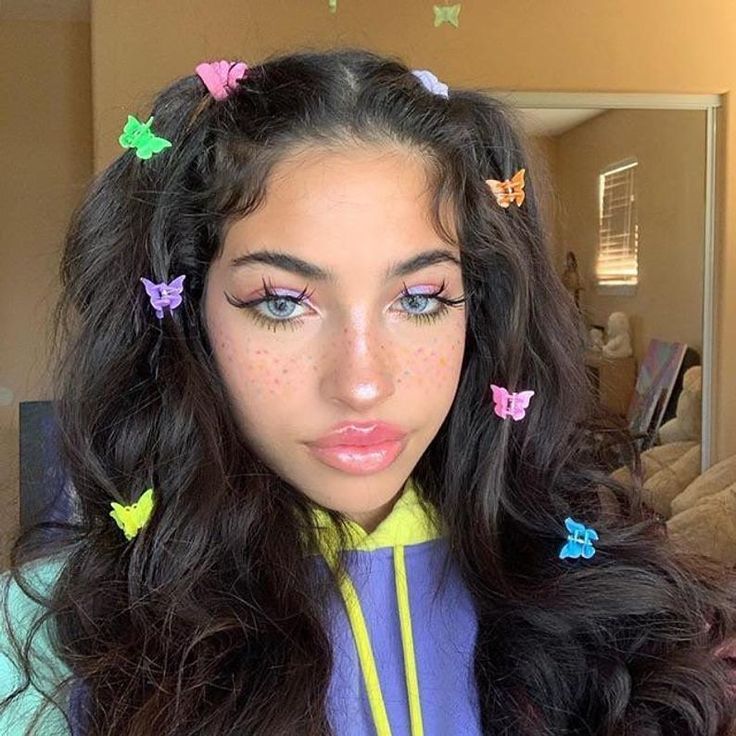
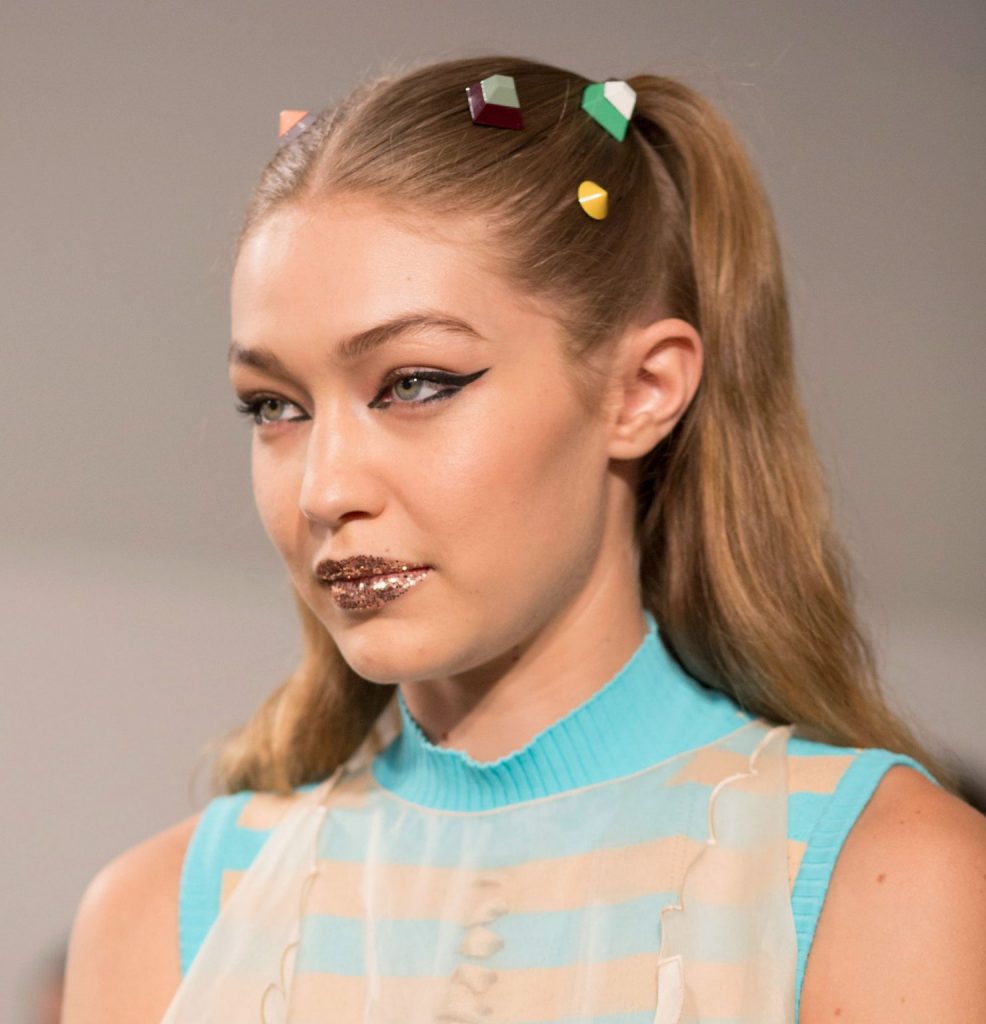
Giving these cuties another try, they have become quite a trend these days. Popular since the mid-90s, these took quite a fall later. But as you can see, they are a sensation now and everybody can’t get enough of them.
10) Platform Shoes
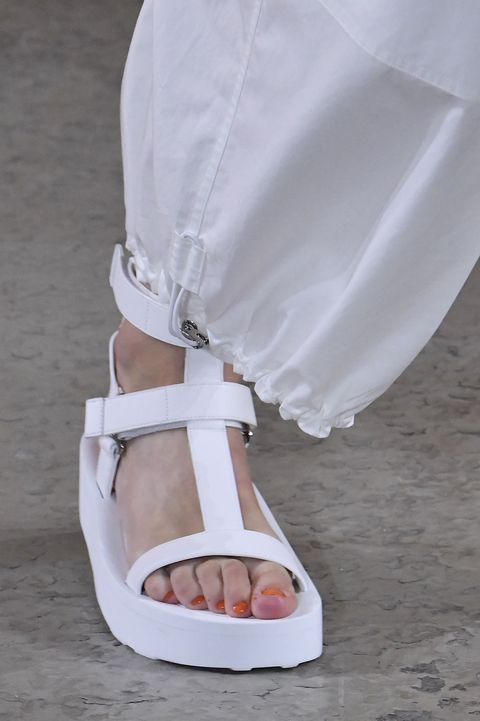
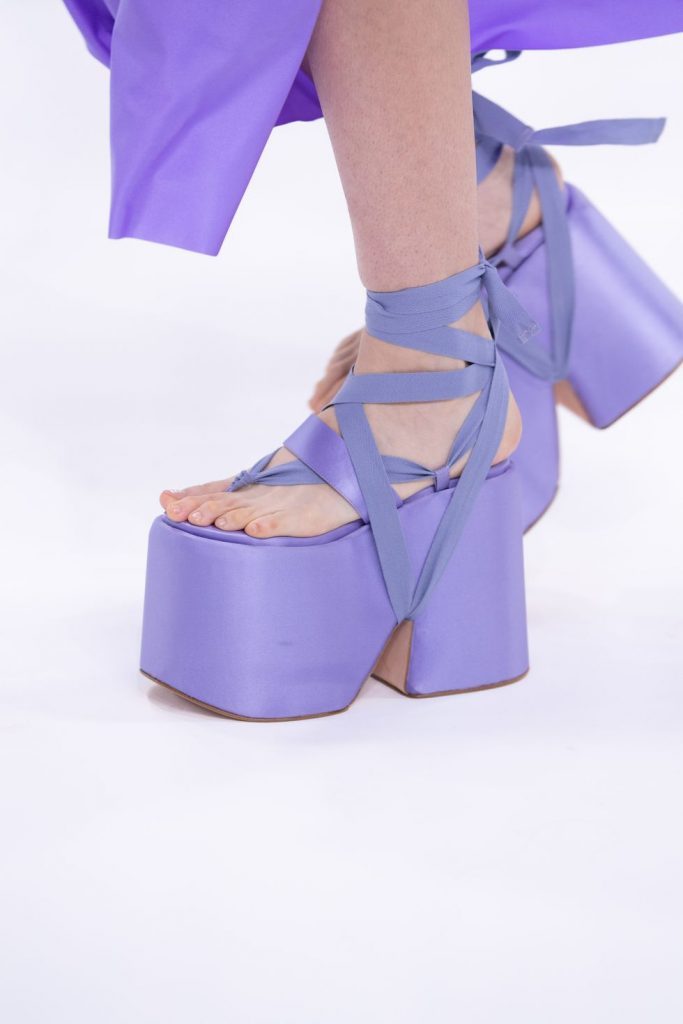
After a fall out in the past few years, platform heels are back in the Y2K Fashion trend for this season! They look adorable when worn with tights or with loose bottoms.
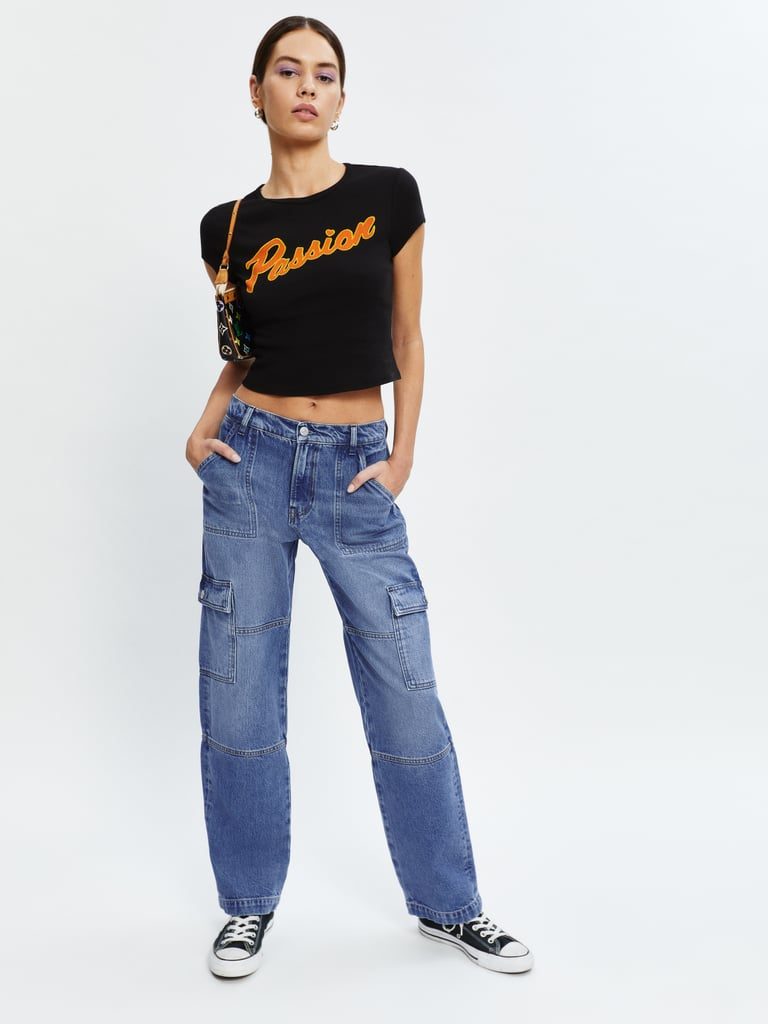
11) Wide-leg Denim Trousers
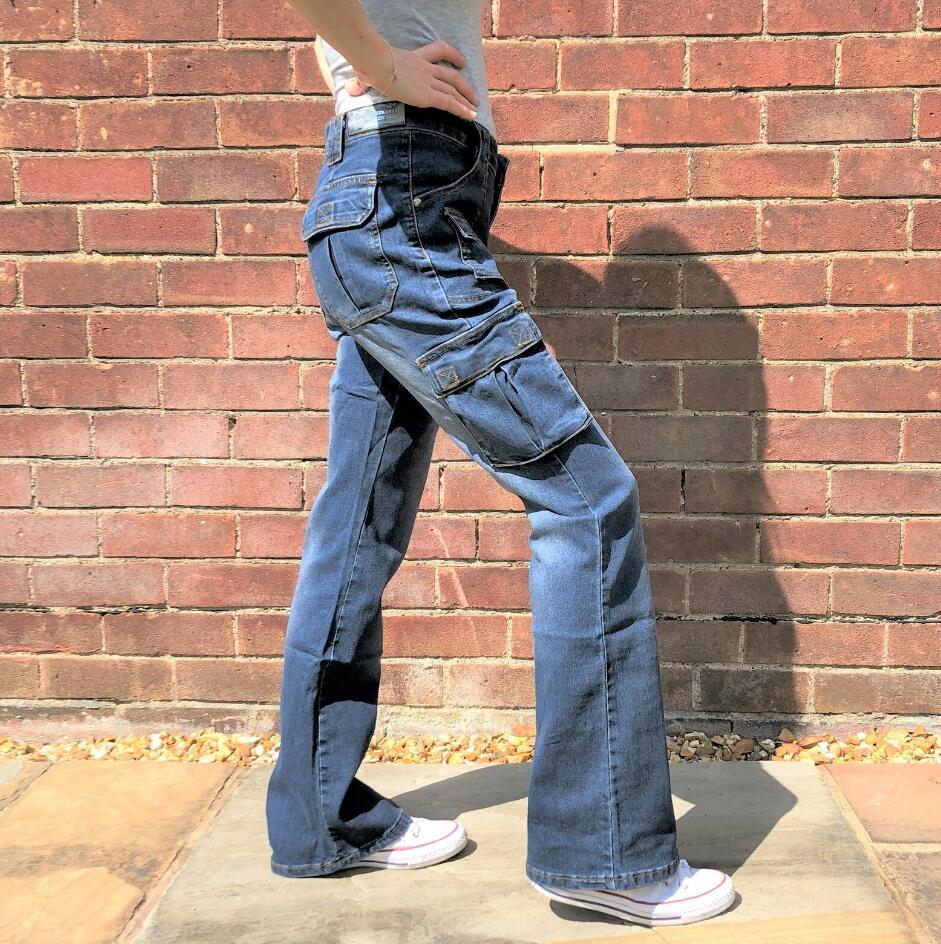 These wide-leg denim trousers are chicer than those mom jeans from the 70s. Cut outs were already famous for the wide trousers during 2021 and they continue to stay in style on the runways from Chanel to Balmain.
12) Bubble Gum Pink
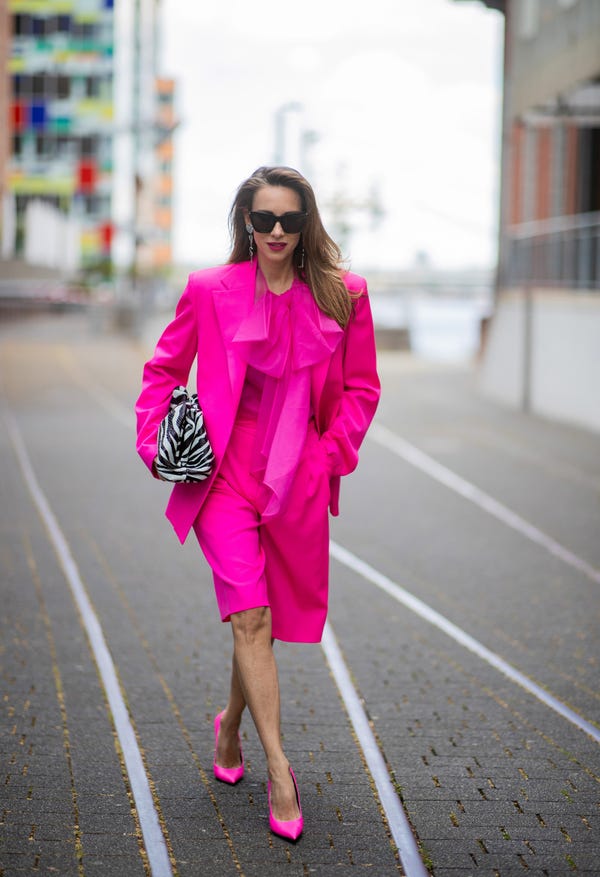
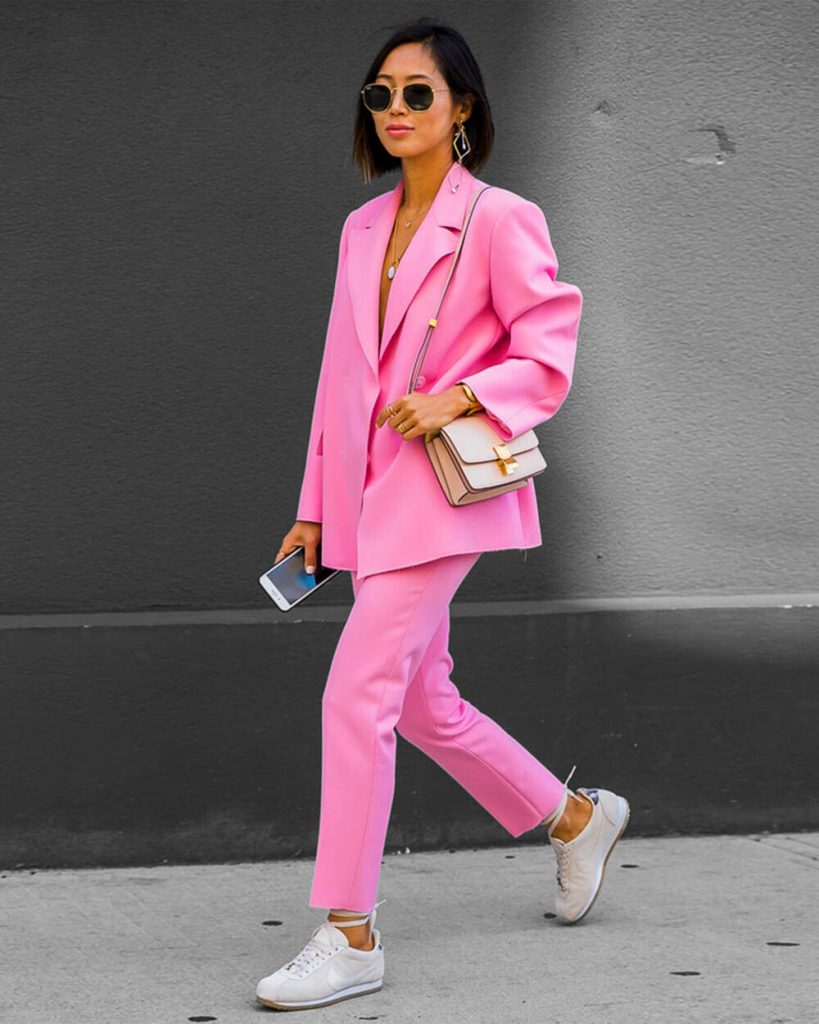 A source says, “The early aughts Barbie tone of pink was rooted in femininity, something we can see in the 2000s movies and pop culture icons who set the trend.” This is why bubble gum pink is the main reason for a trendsetter, but one reason behind its eye-catching quality is how it’s bold and feminine at the same time.
Now you can slay your Y2K fashion outfit for this season with these iconic trends! I hope this was helpful and when you try these sensational ideas, do share your experience in the comment section below. Feel nostalgic and rock this trend.


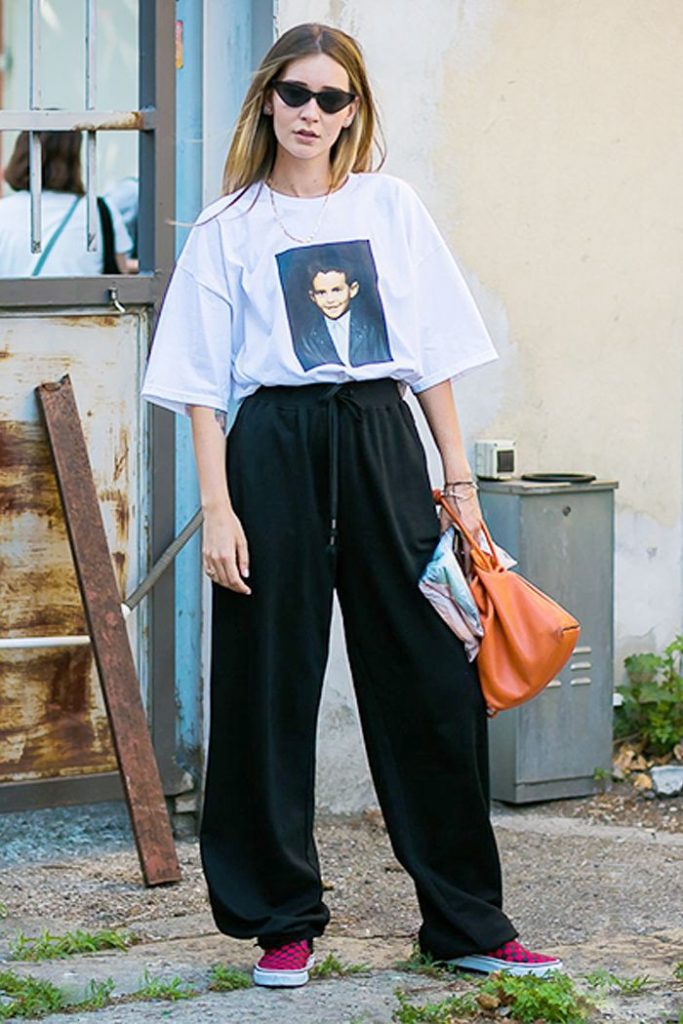
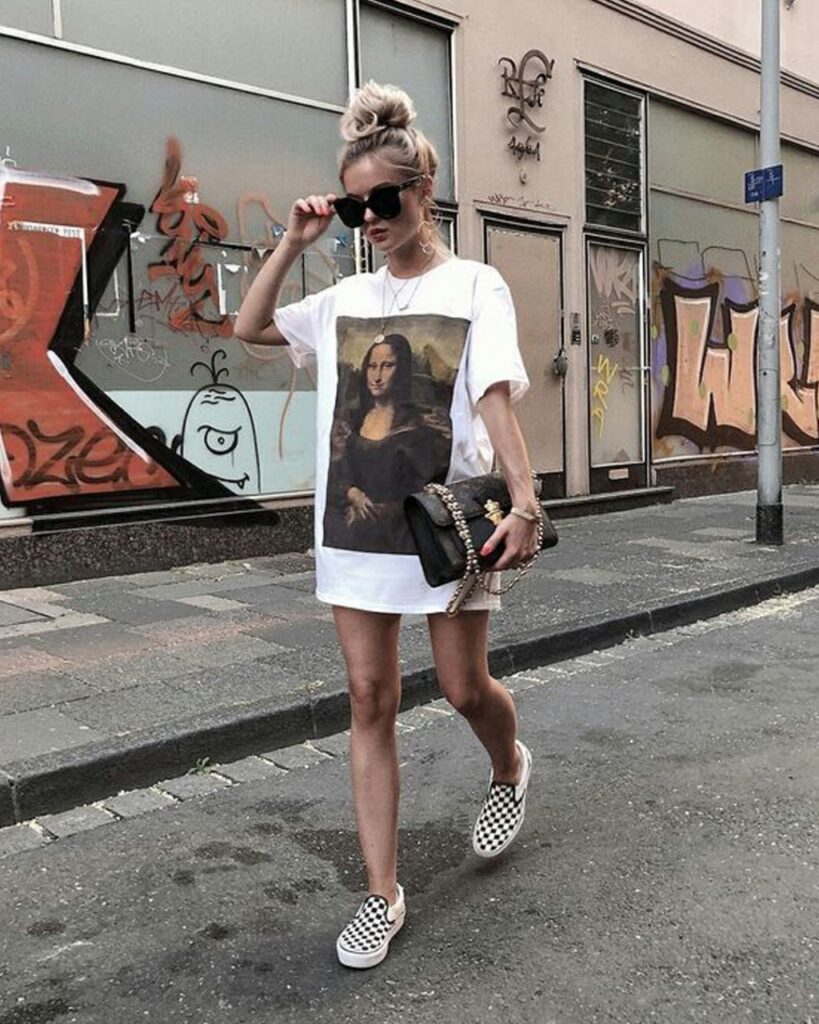 Wearing your oversized t-shirt alone with a pair of sneakers is just fine. It looks super cute and comfortable.
 This knot at the front looks amazing and stylish. It is a trendy look and enhances your silhouette.
 And if that weather gets colder, cardigans look super chic and cool over an oversized tee.
 If you are planning to watch a sports game, this look screams for it, wear your oversized t-shirt with an oversized shirt along with Capri, a pair of jeans, or joggers and you are all set for the event!
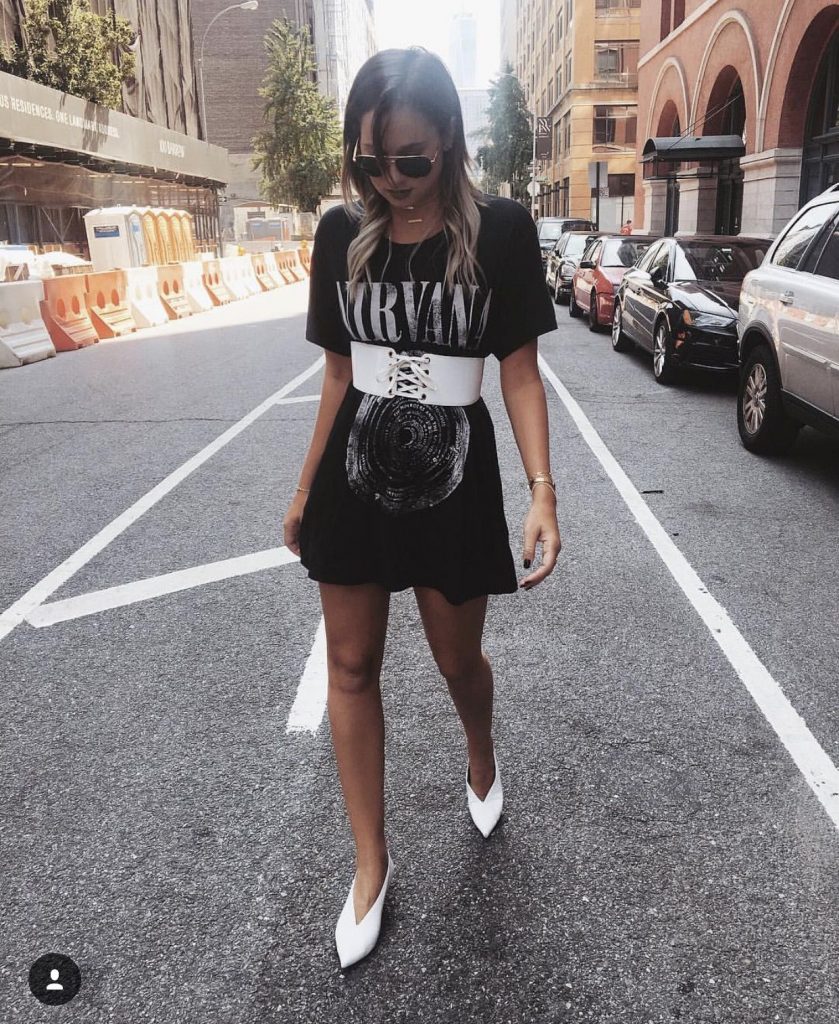 Adding just a belt to this outfit just changes your entire look! I mean look how empowering it seems and sexy too.
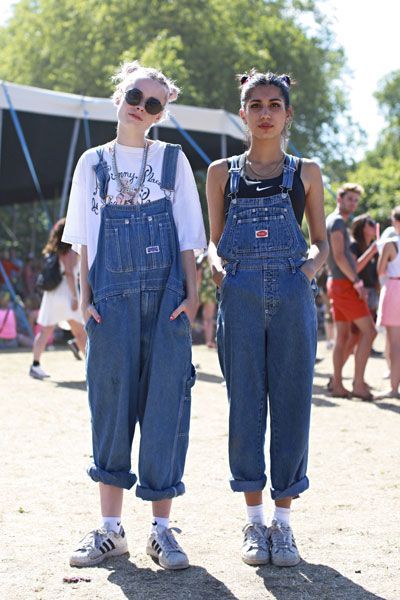
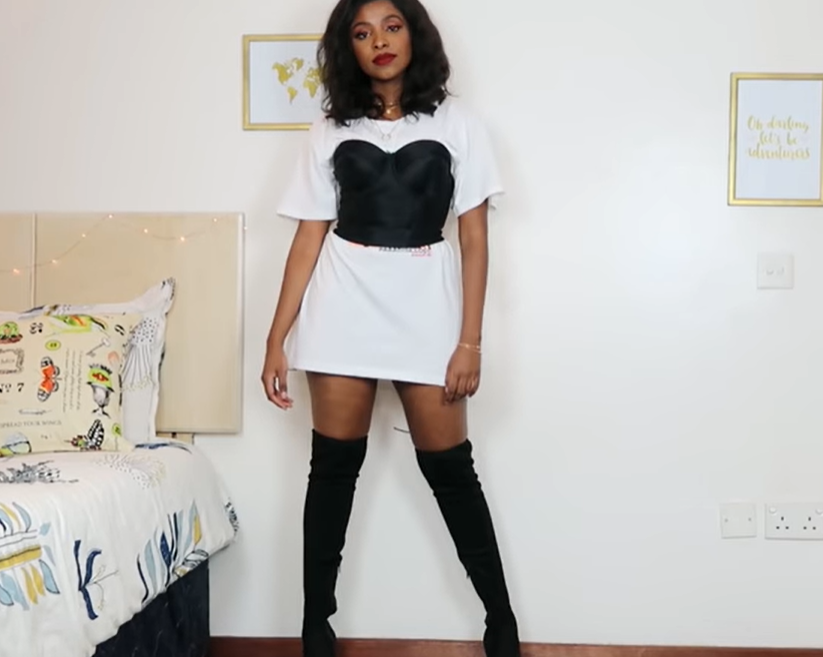 The look sends out the “boss babe” vibes! It is a great look for a party and very fashionable too. You should definitely go for it. You can also add a pair of skinny jeans beneath and the outfit will look amazing.
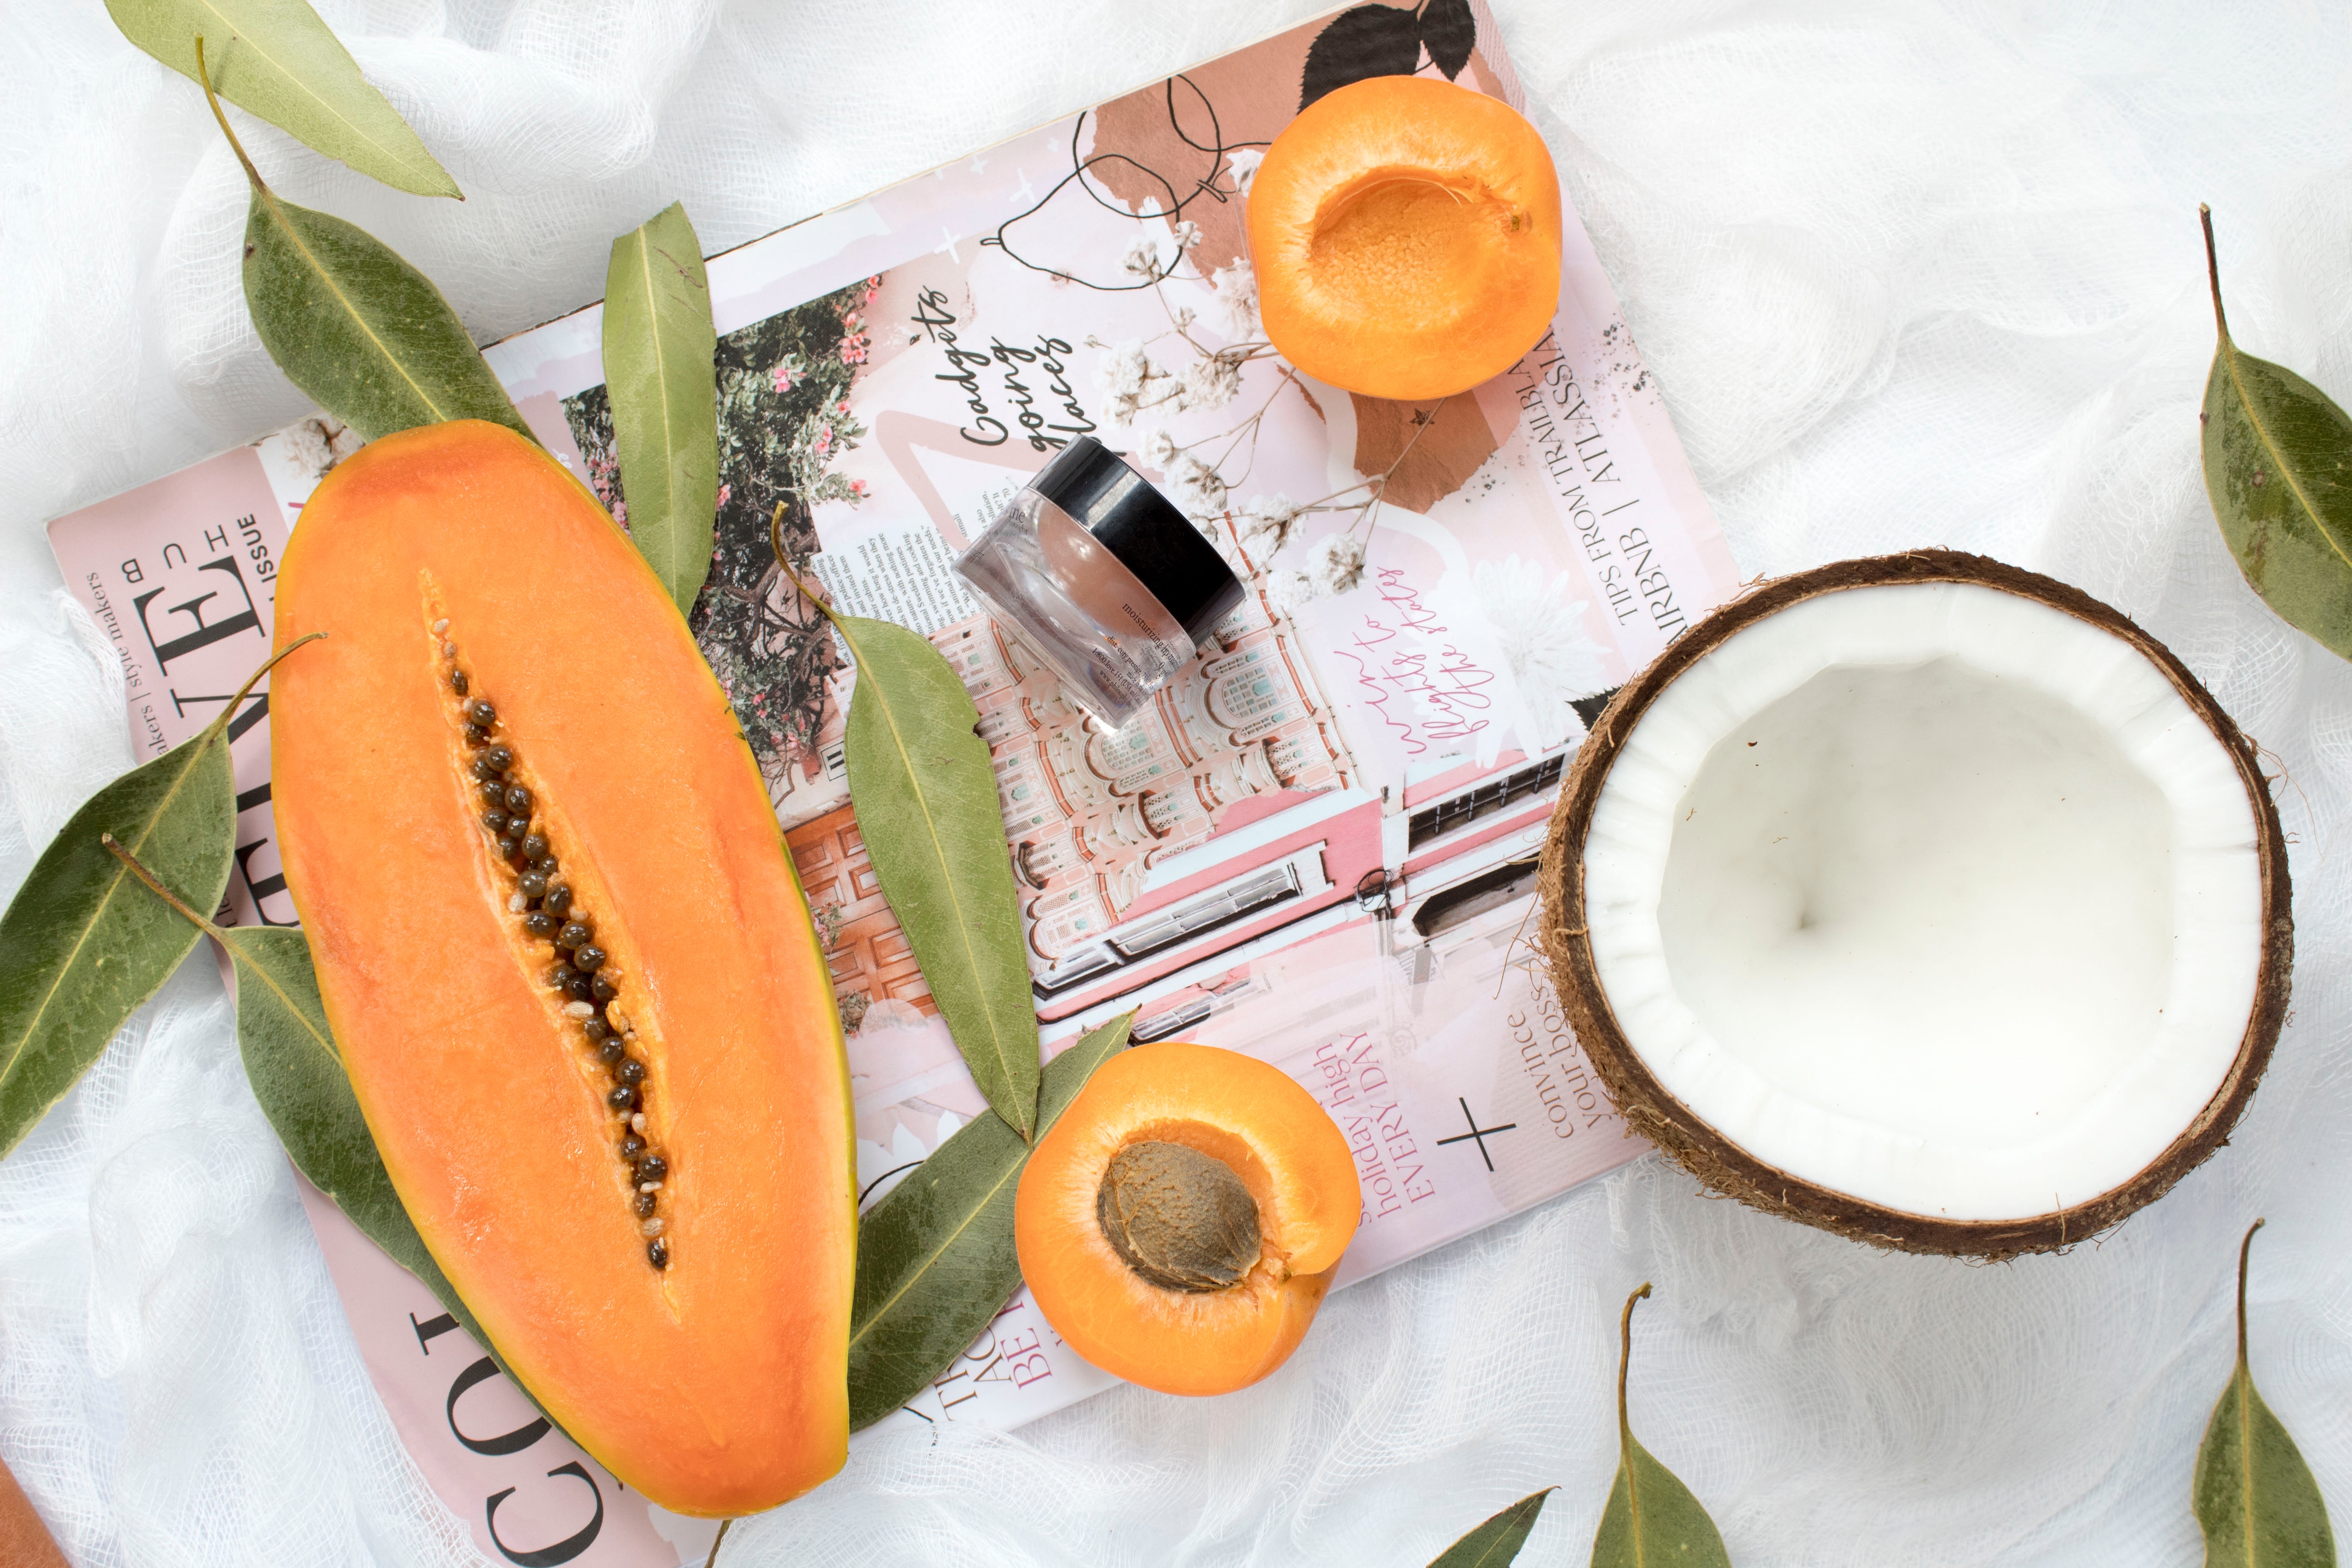
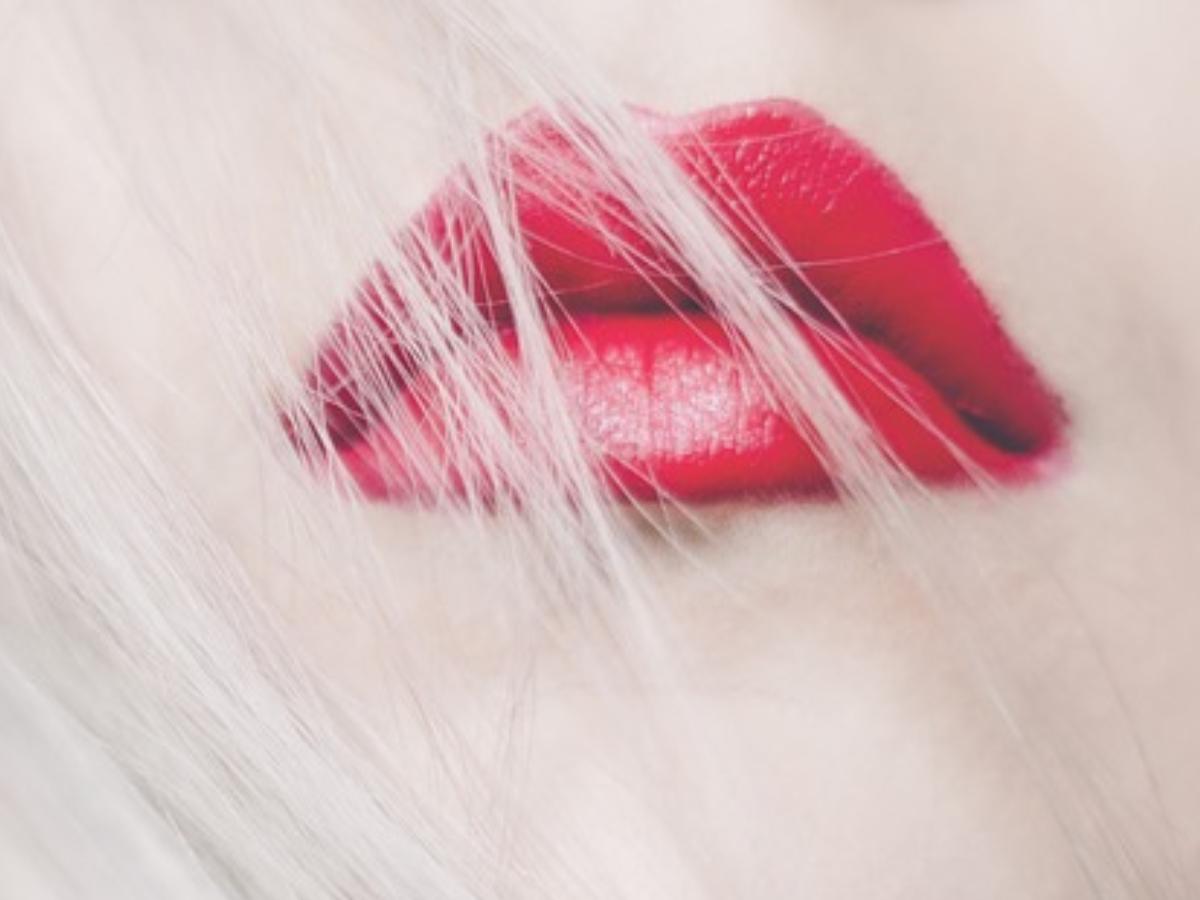
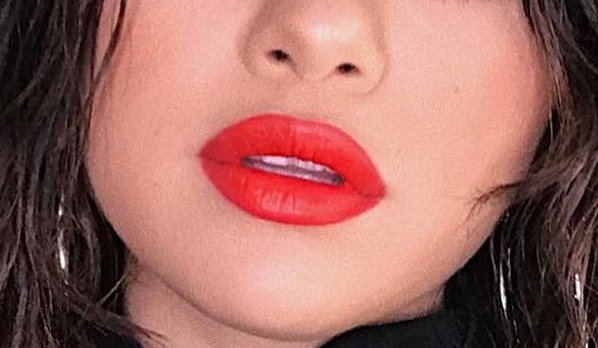
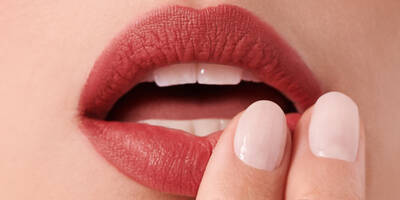
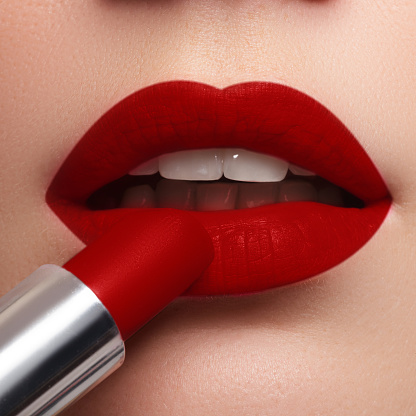
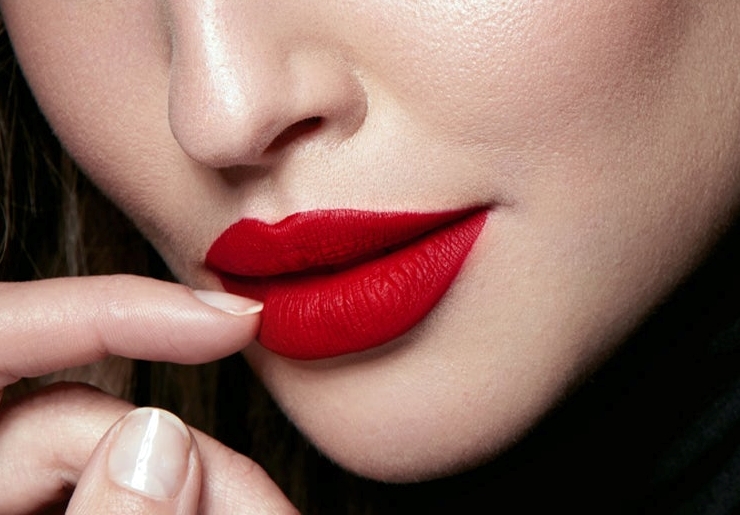
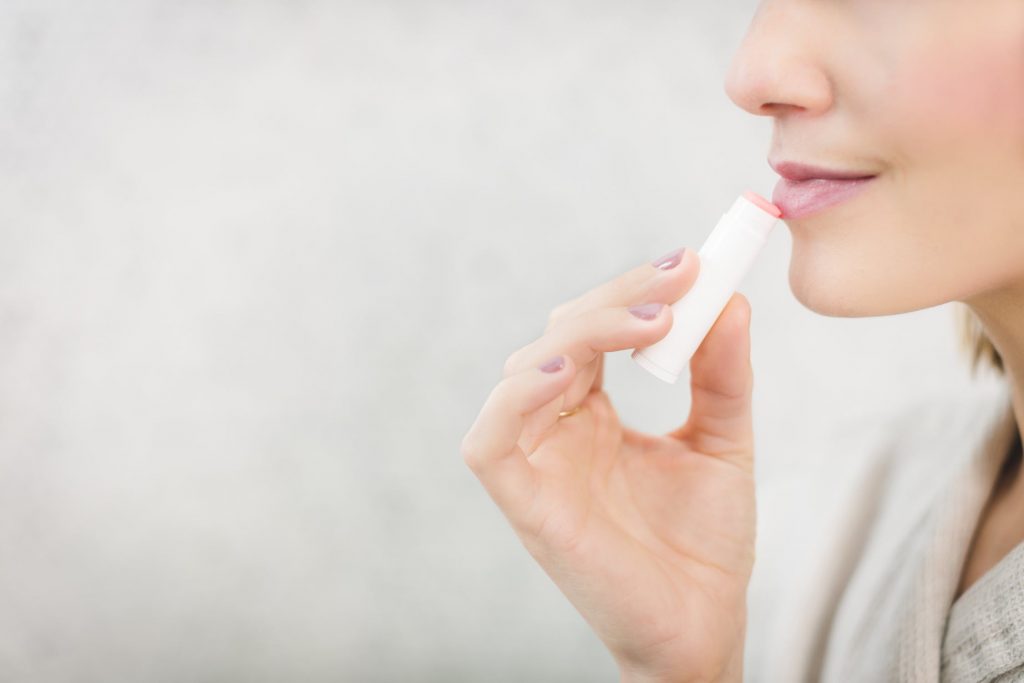 1) Moisturizes & Hydrates your Lips
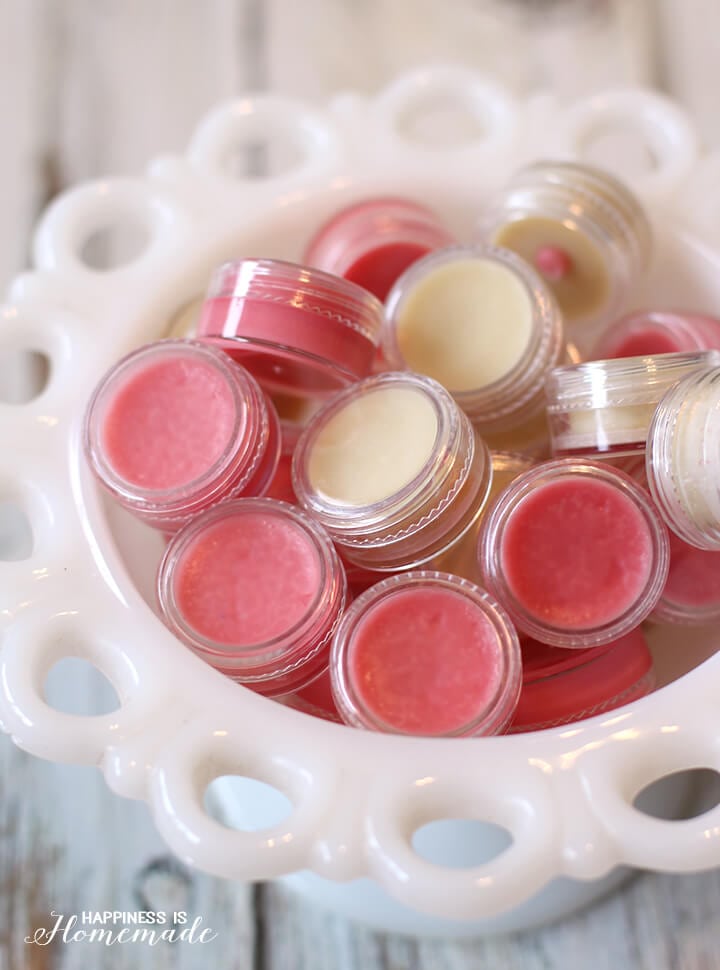 Making a lip balm at home is fun and also saves your time and money. And you can also make a tinted lip balm. So first let’s have a look at the ingredients you require and then hop onto the method.
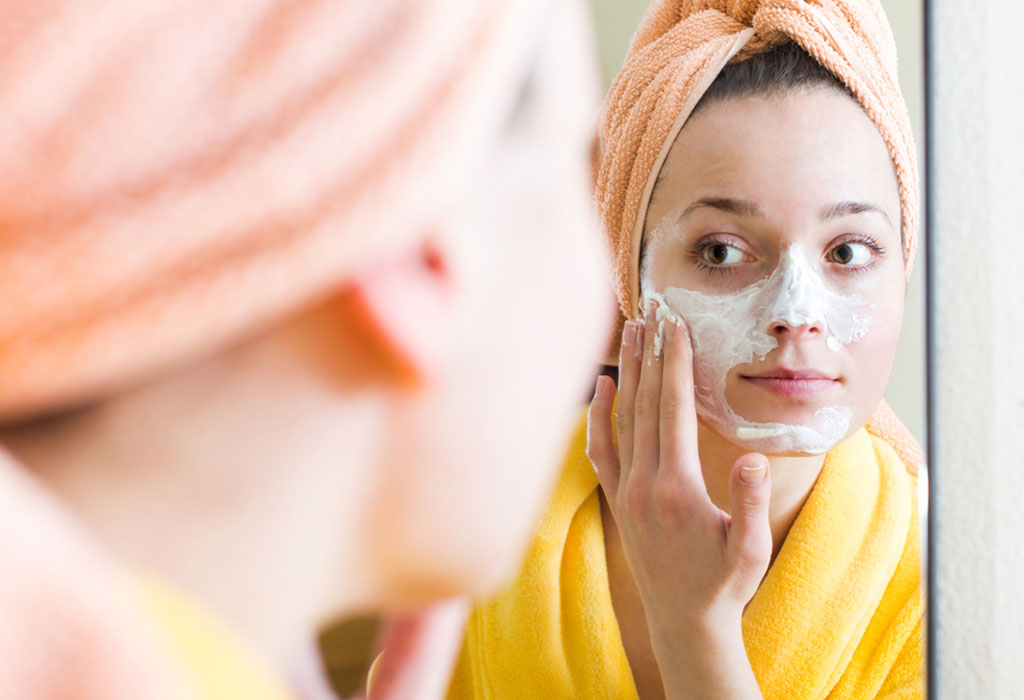
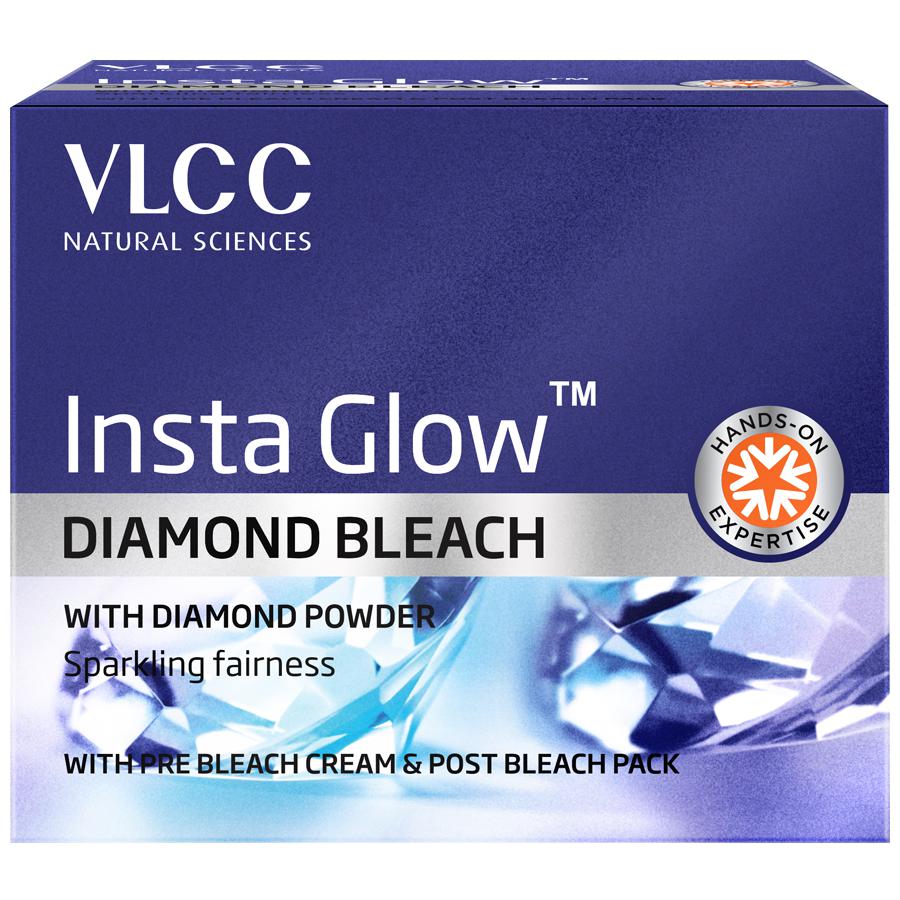 It bleaches the facial hair to match the skin tone perfectly and purifies the skin from within to make it fairer, energized, and youthful. Suitable for dry skin type.
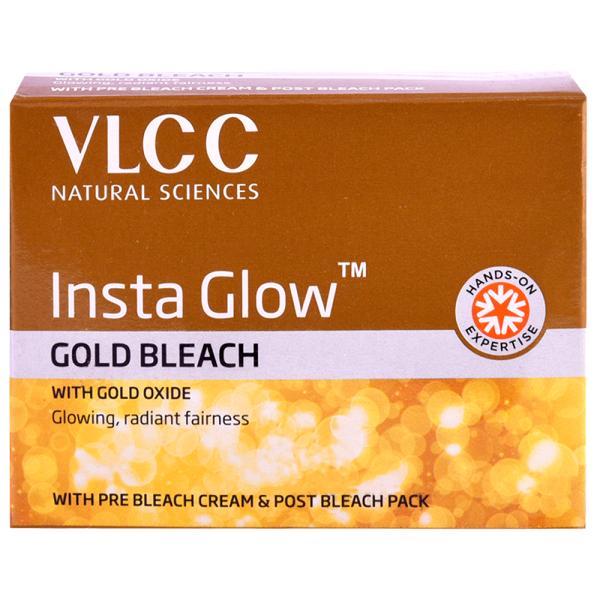
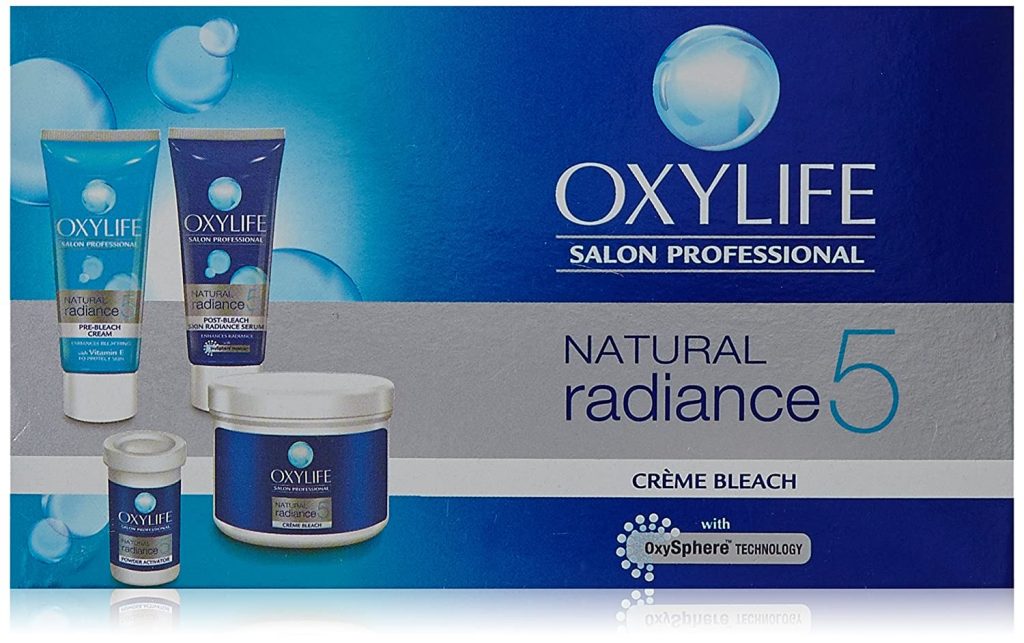 This one here is suitable for all types of skin. It infuses oxygen into the skin and aloe vera makes the skin supple and soft. Even those with sensitive skin, which is prone to irritation and redness, can use Oxy Crème bleach.


 Ingredients:
 Ingredients:
 Ingredients:
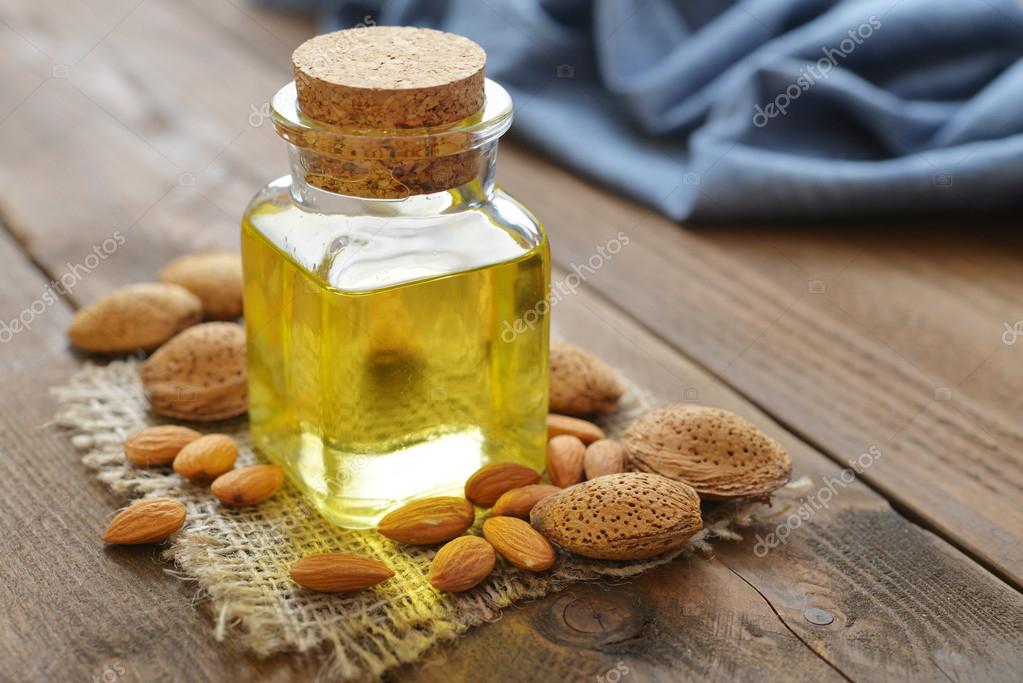 Ingredients:
 Ingredients:
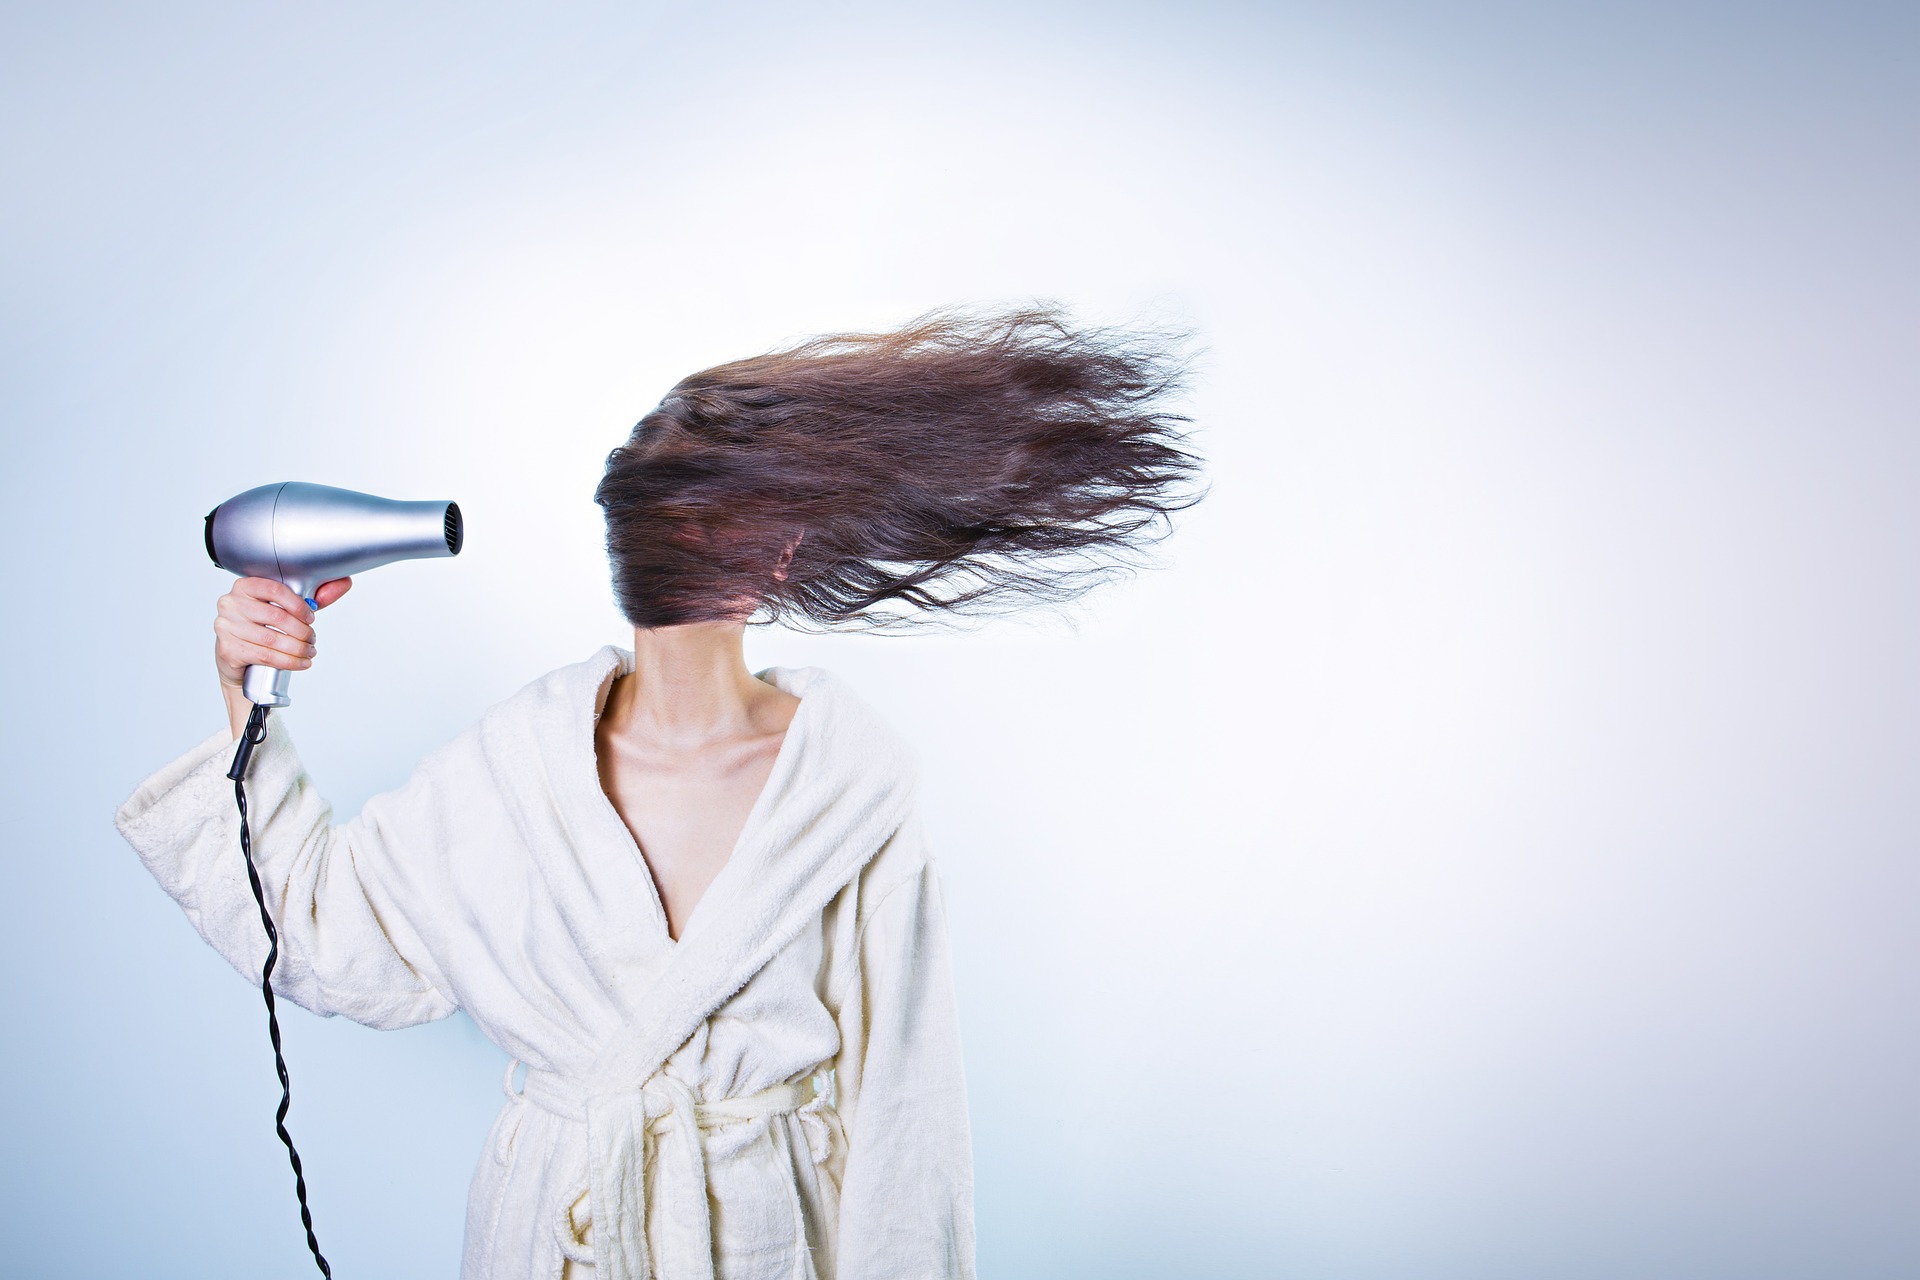
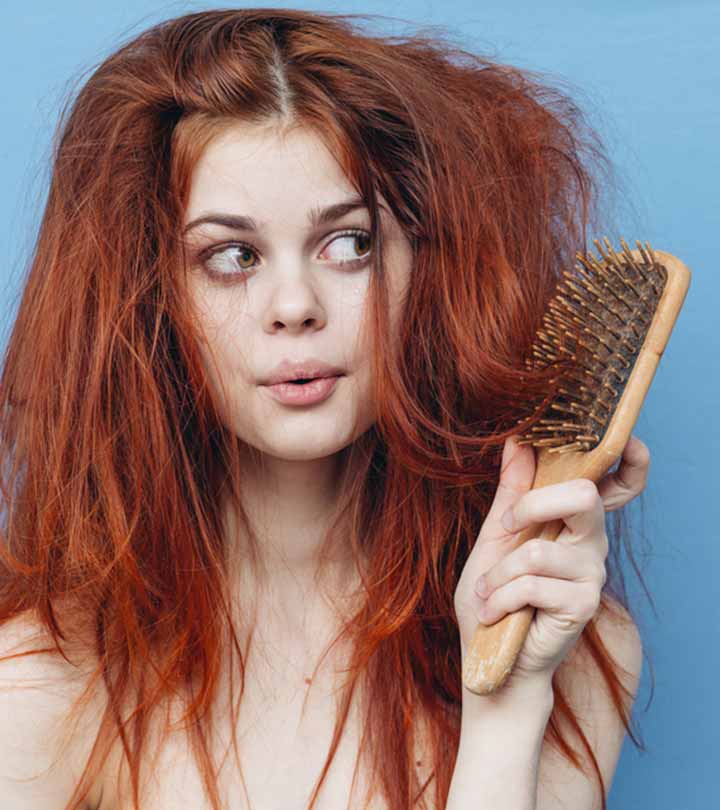 They look frizzy, get tangled easily, lack shine, and are unmanageable. Your cuticles (the outer cellular layer of a hair) as well as your cortex are damaged due to hair color, chemical straighteners or perms, and heat styling (blow dryers, flat iron, curling iron).
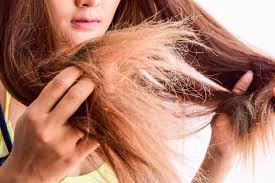
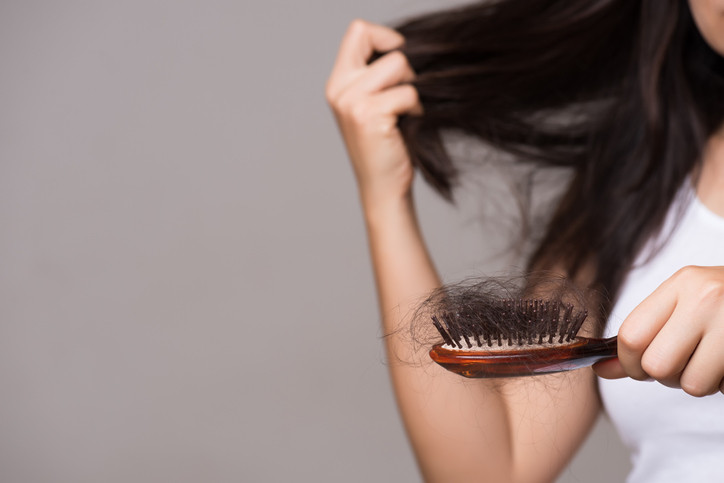 They are patchy or have slow hair growth and excessive falling out. Here, your hair follicles are damaged which are responsible for hair growth and are a living part of your hair. The main reason behind it is product build-up, excessive combing or hair brushing, extensions, and chemical treatments.


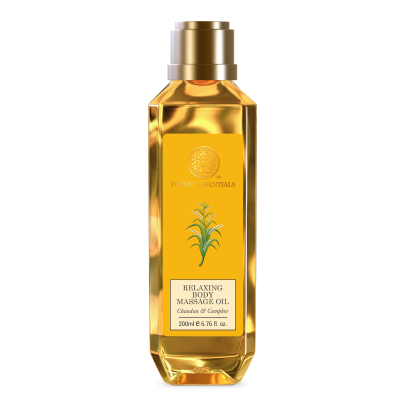
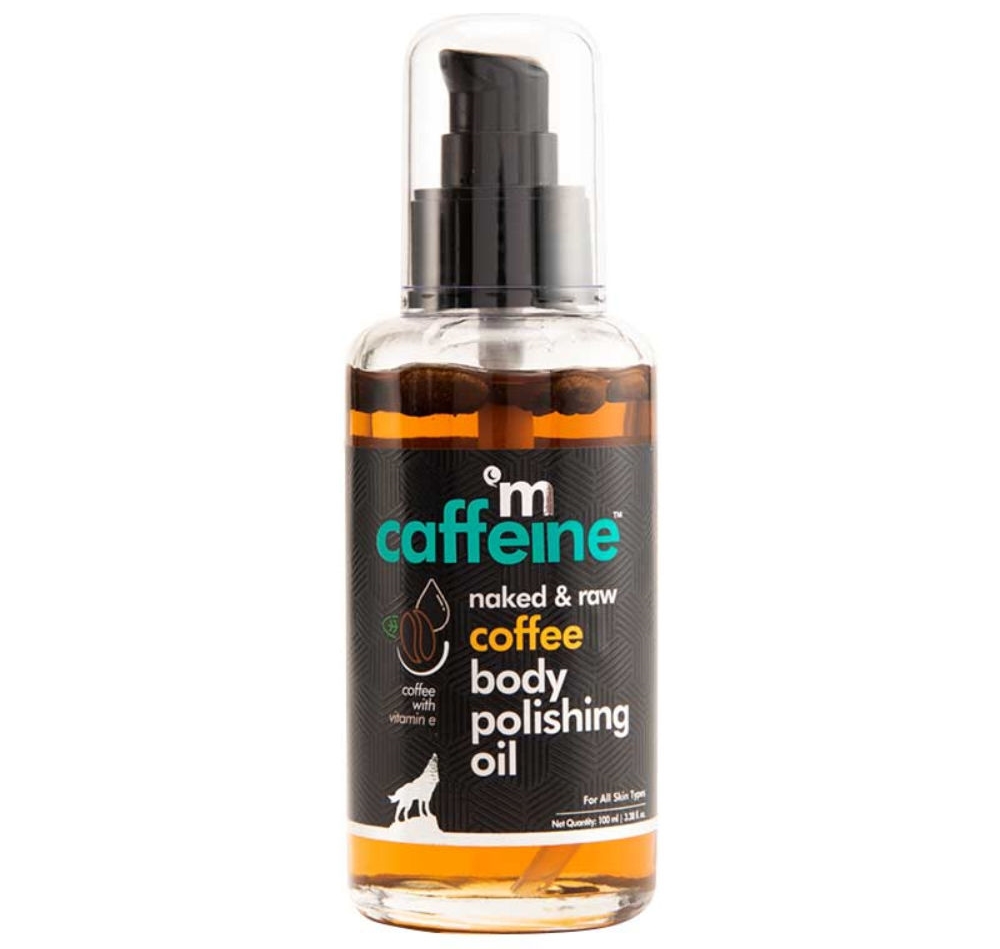 This caffeinated and aromatic
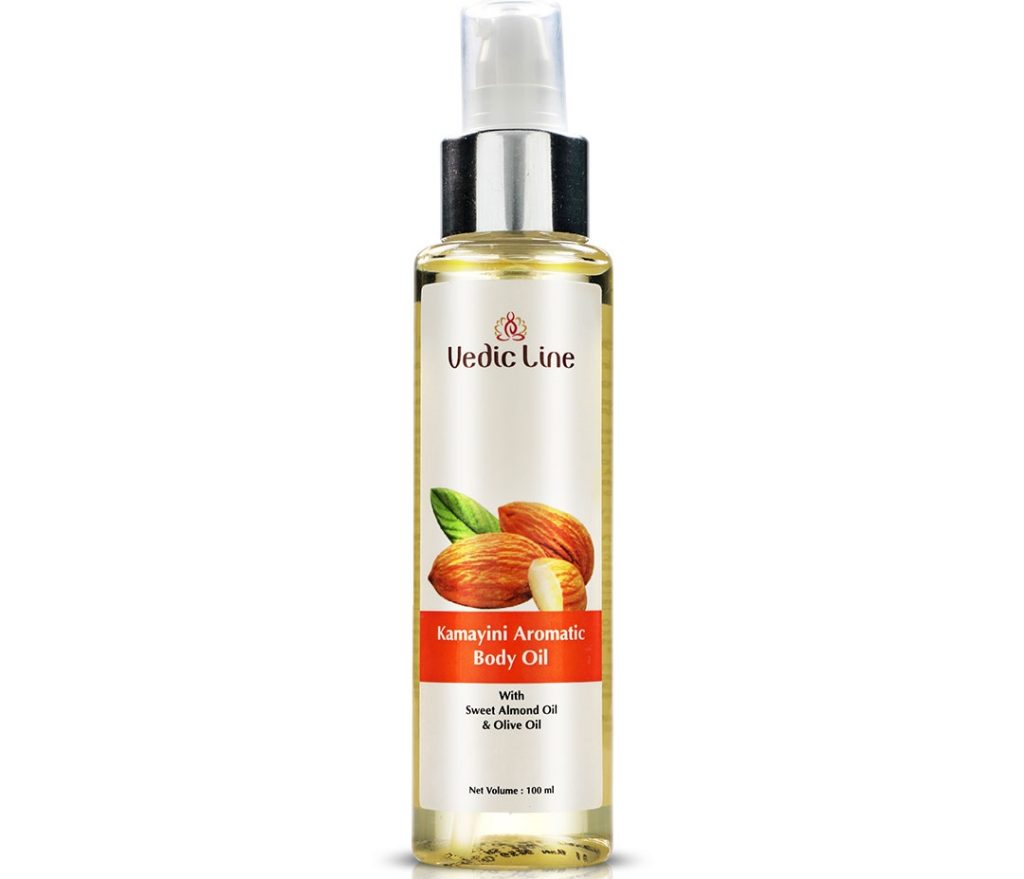
 Made with cold-pressed almond oil, this
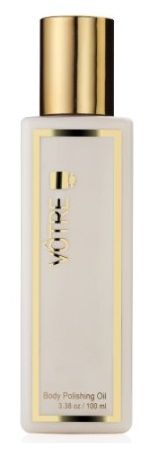
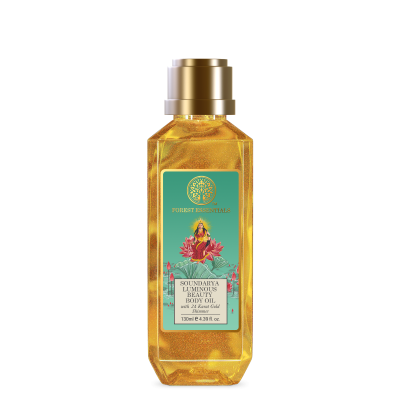
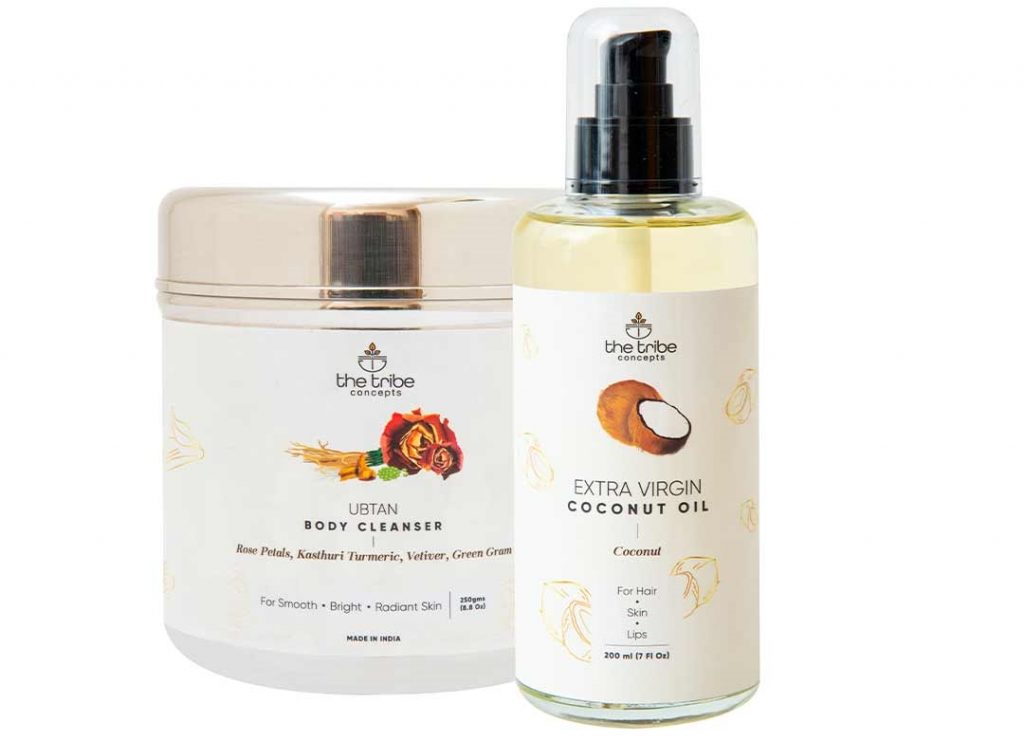 Just like your Face, your Body needs some Pampering too. With the use of this